ACC Connect is the staff app for ACC Education. Use it to check in to your classes, manage your schedule, request leave, read school notices, and keep your profile and documents up to date.
This manual walks through every screen with a screenshot and step-by-step instructions. Screenshots use sample data ("Sarah Johnson"); your own information will differ.
Everyone uses the same screens; some actions are hidden depending on your role.
| Capability | Field staff (teacher, substitute, Thai staff, assistant, admin, staff) | Office staff (super admin, manager, coordinator, accountant) |
|---|---|---|
| Check in to location / class | Yes | No |
| Face ID setup and verification | Yes | No |
| Request leave | Yes | Yes |
| View schedule | Yes | Yes |
| Read notices and notifications | Yes | Yes |
| Edit own profile and documents | Yes | Yes |
There are no separate "admin" screens. Office-staff roles simply see the app without the check-in and Face ID features.
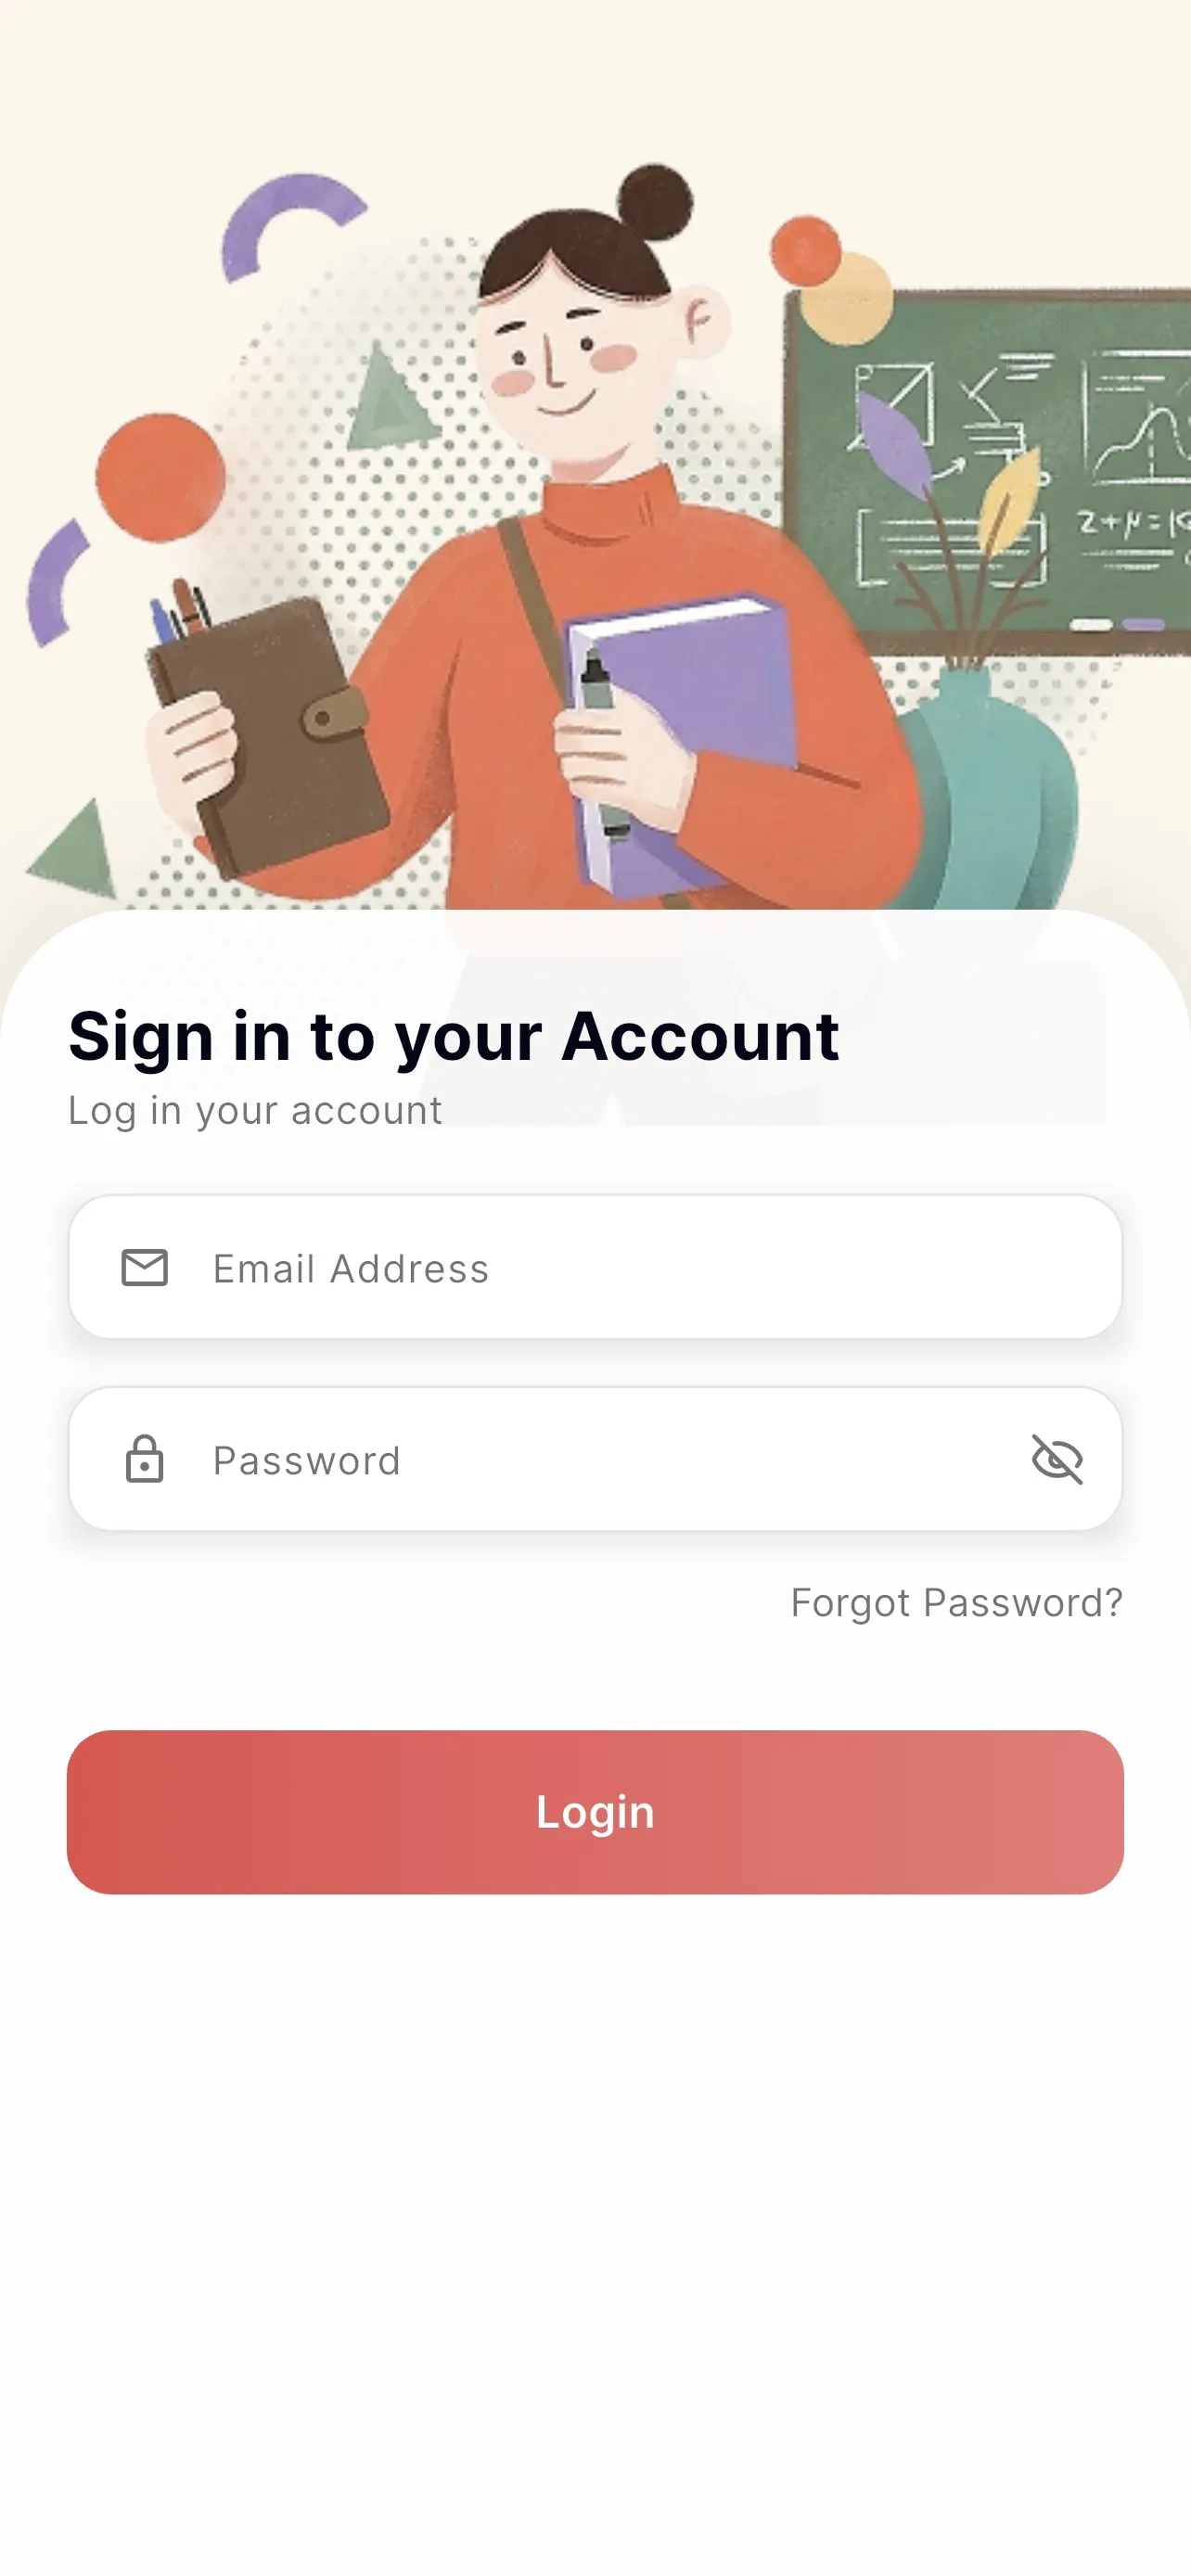
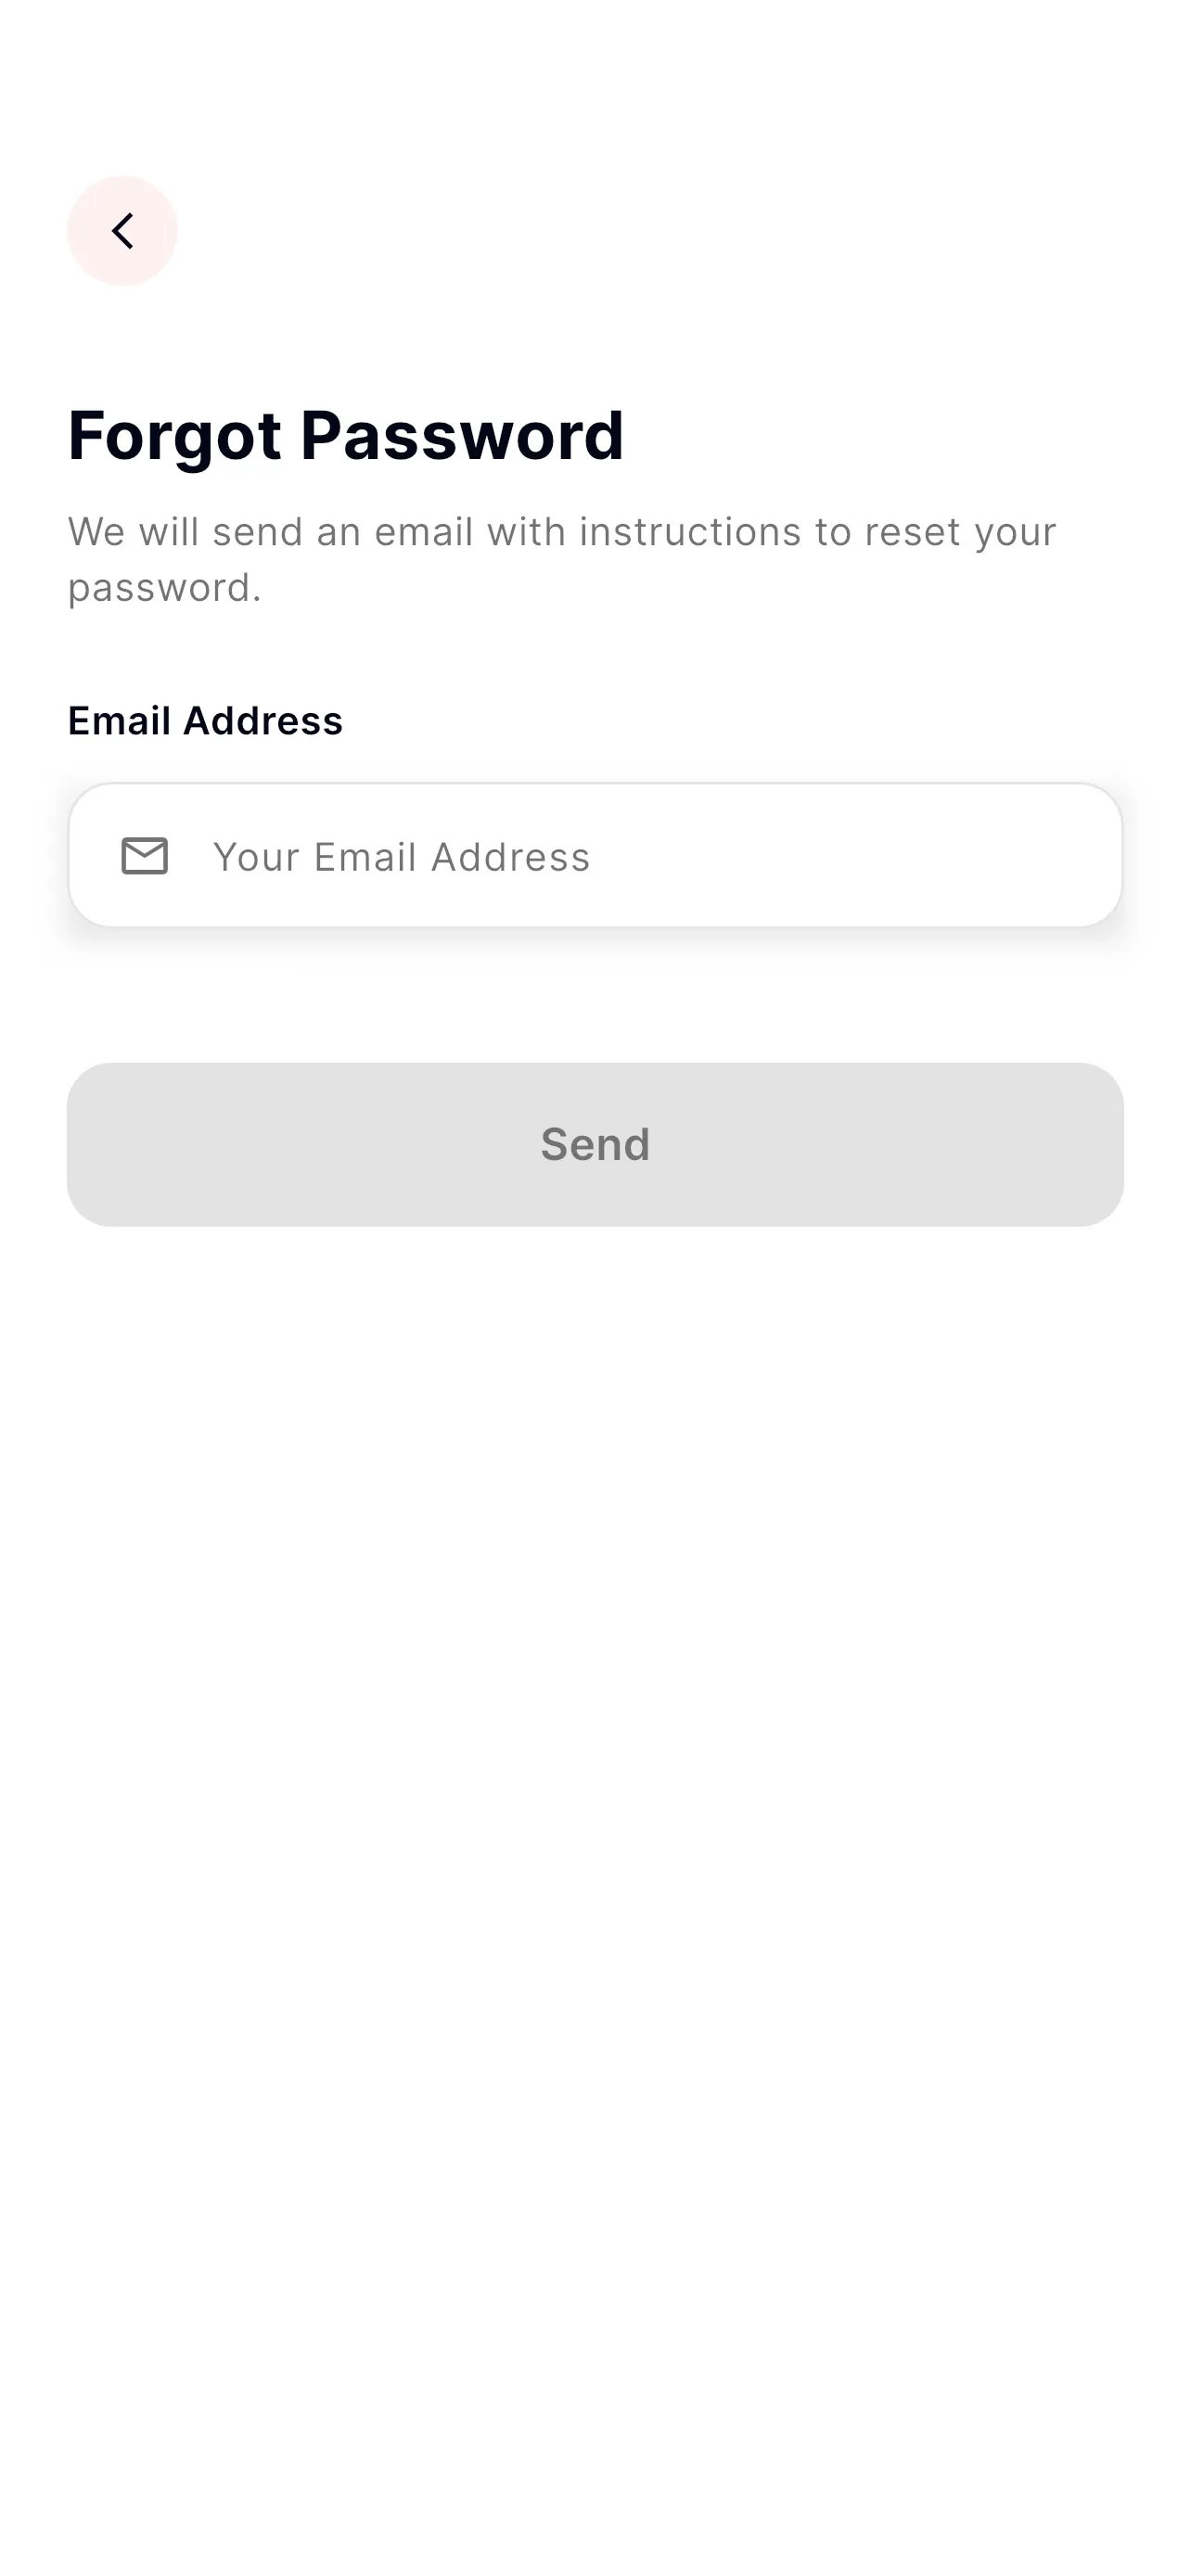
If you forget your password, tap Forgot password on the login screen.
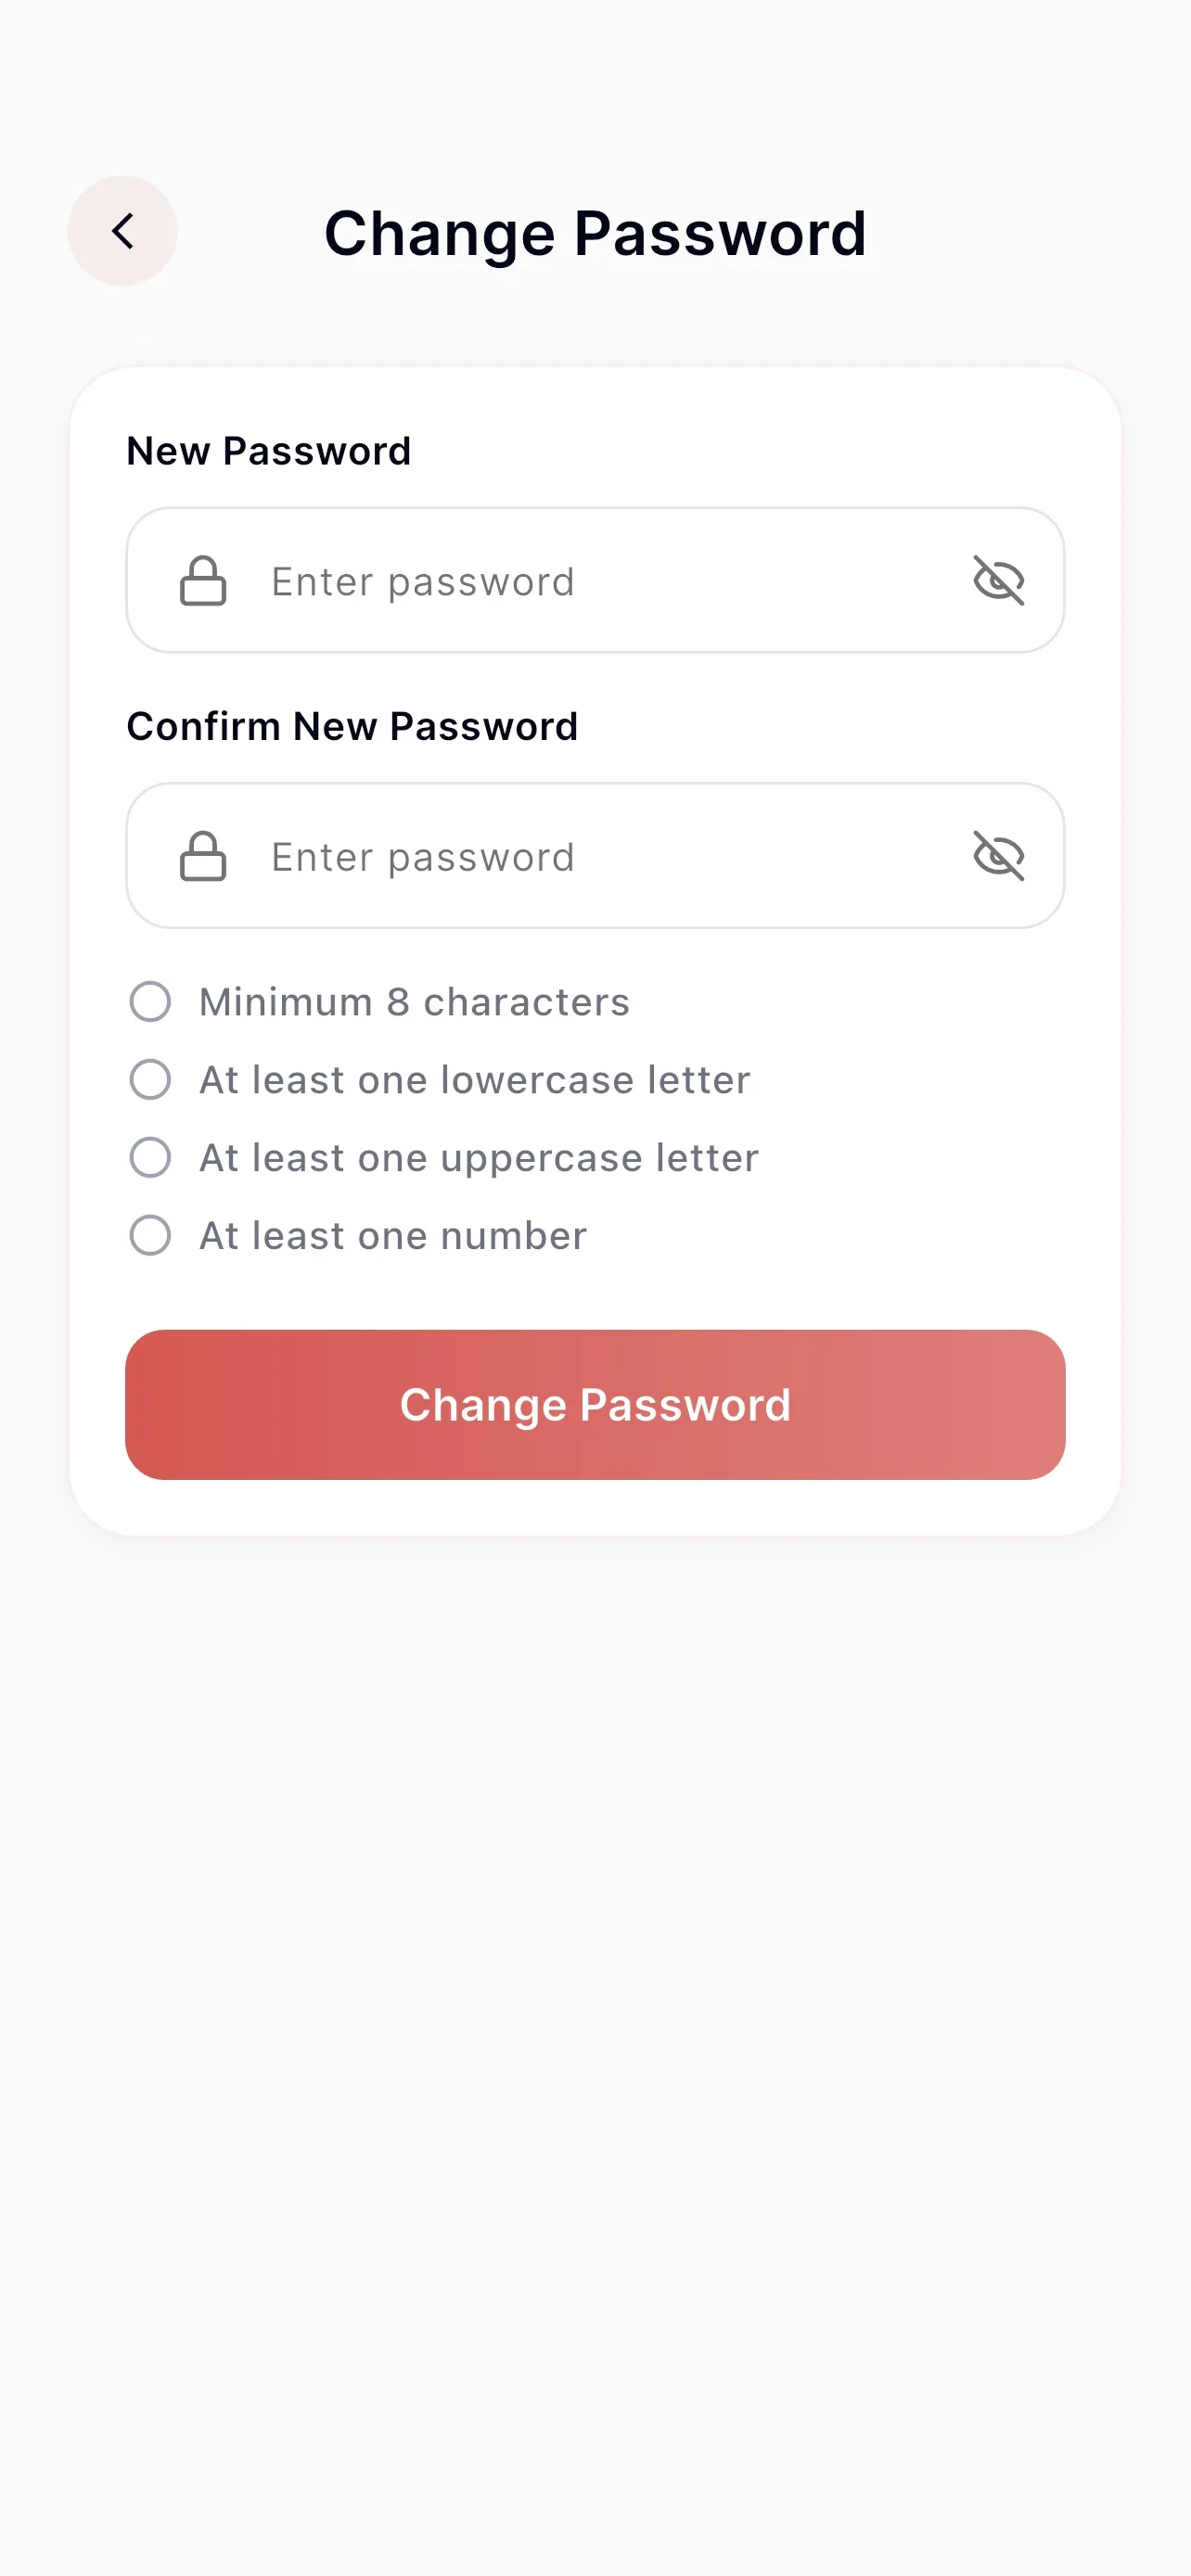
Reached from Profile → Settings → Change password.
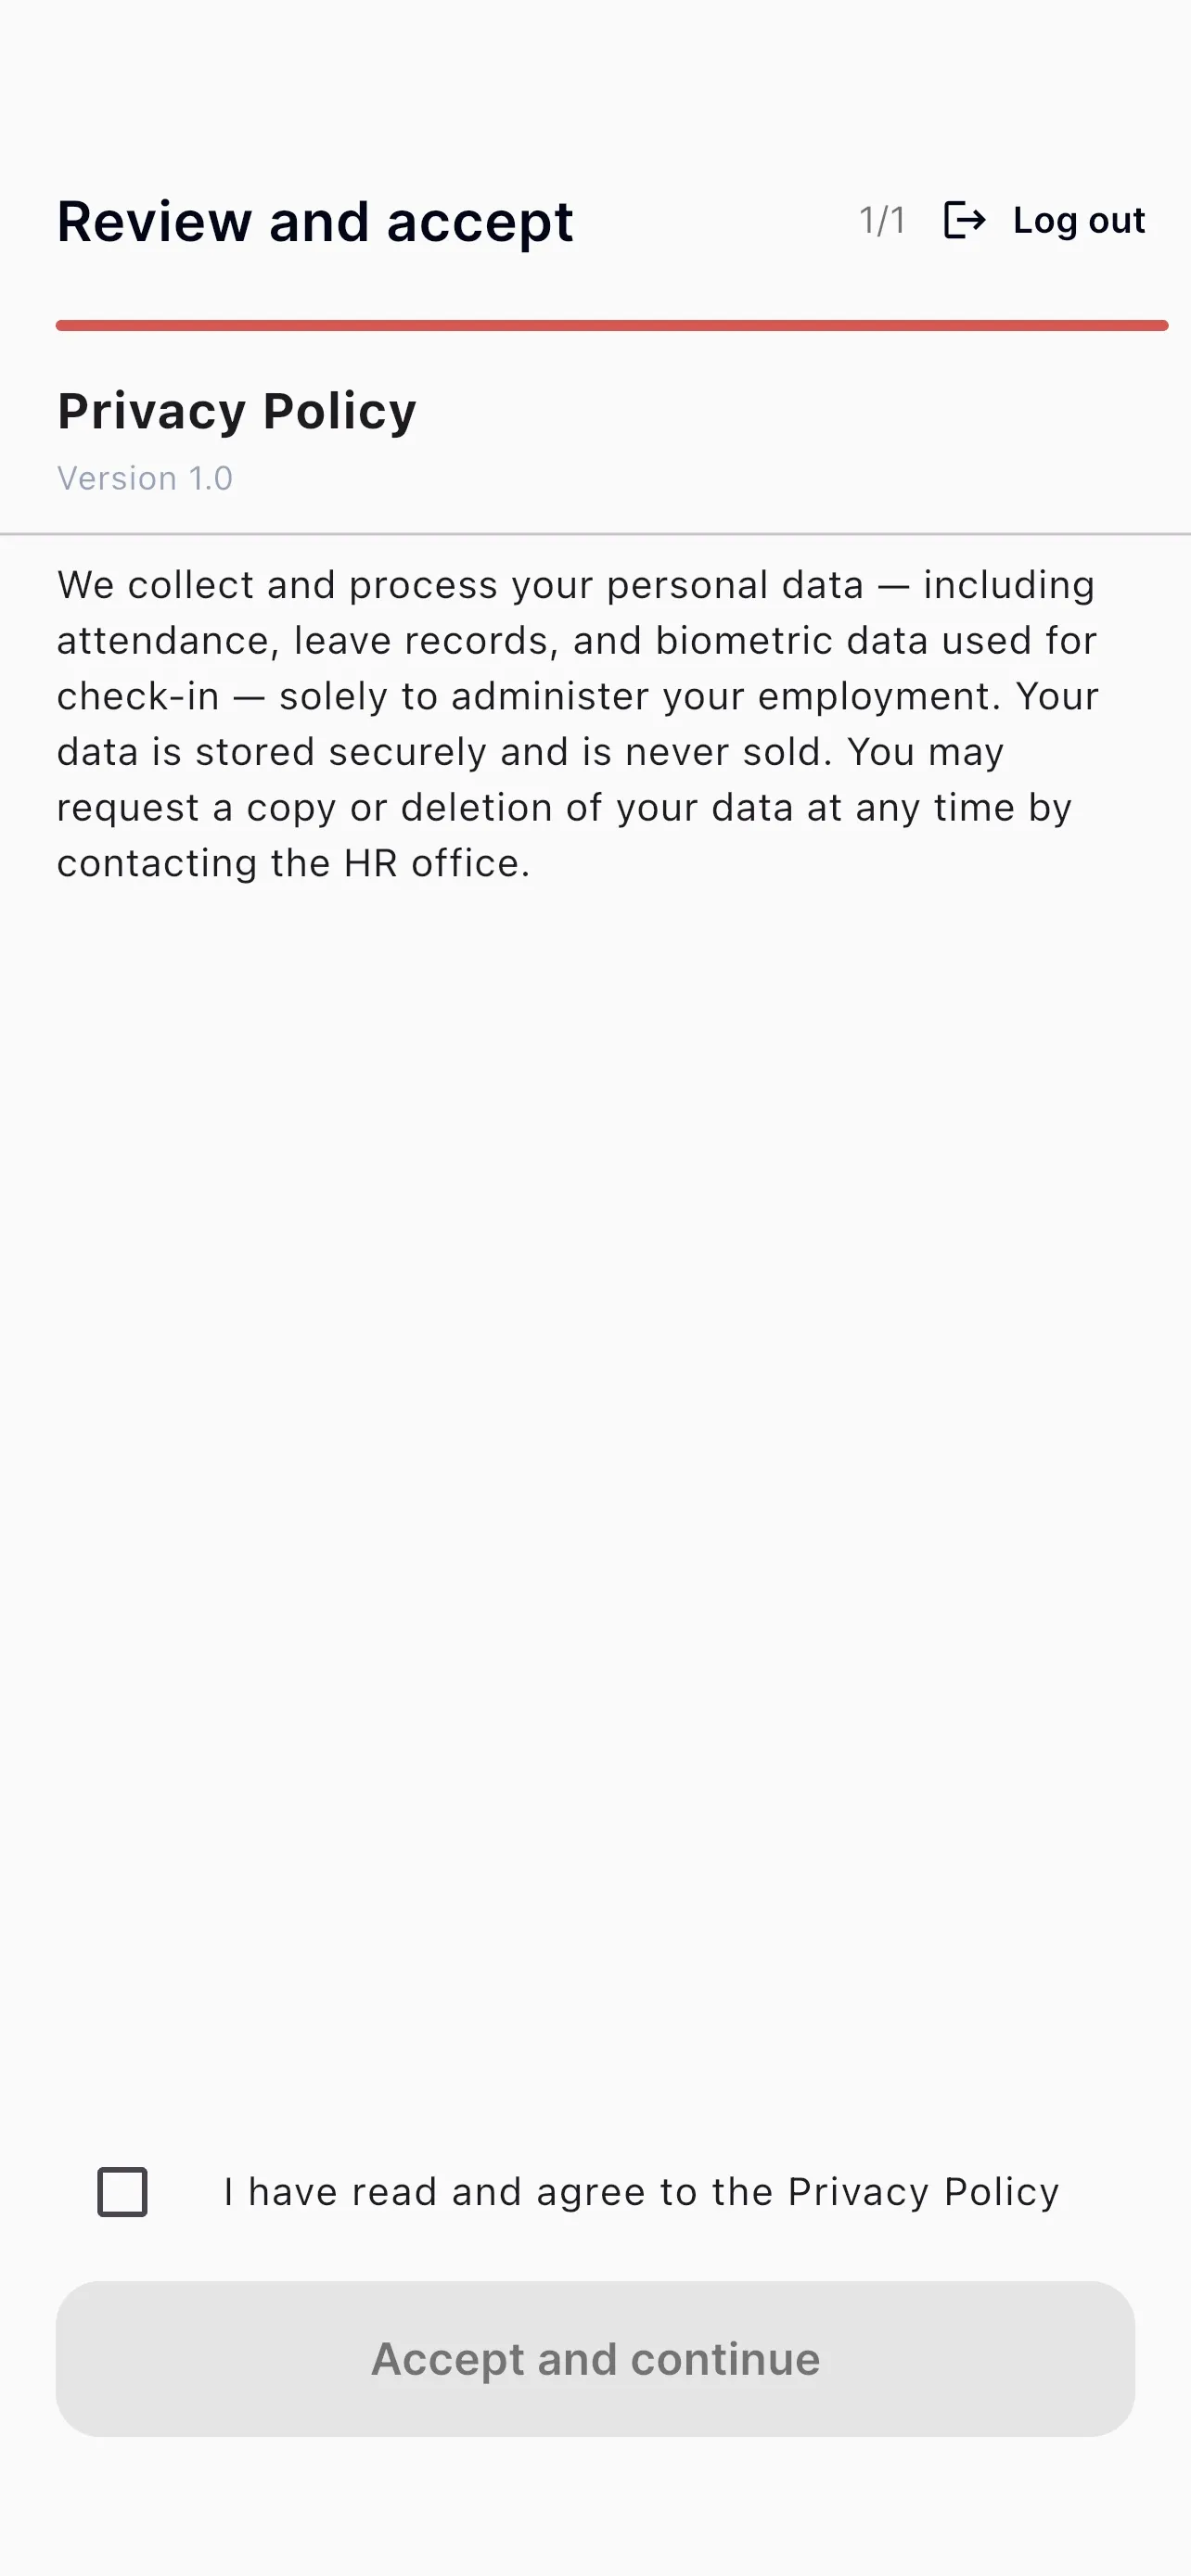
The first time you sign in, the app guides you through a few setup steps. You cannot use the main app until the required steps are done.
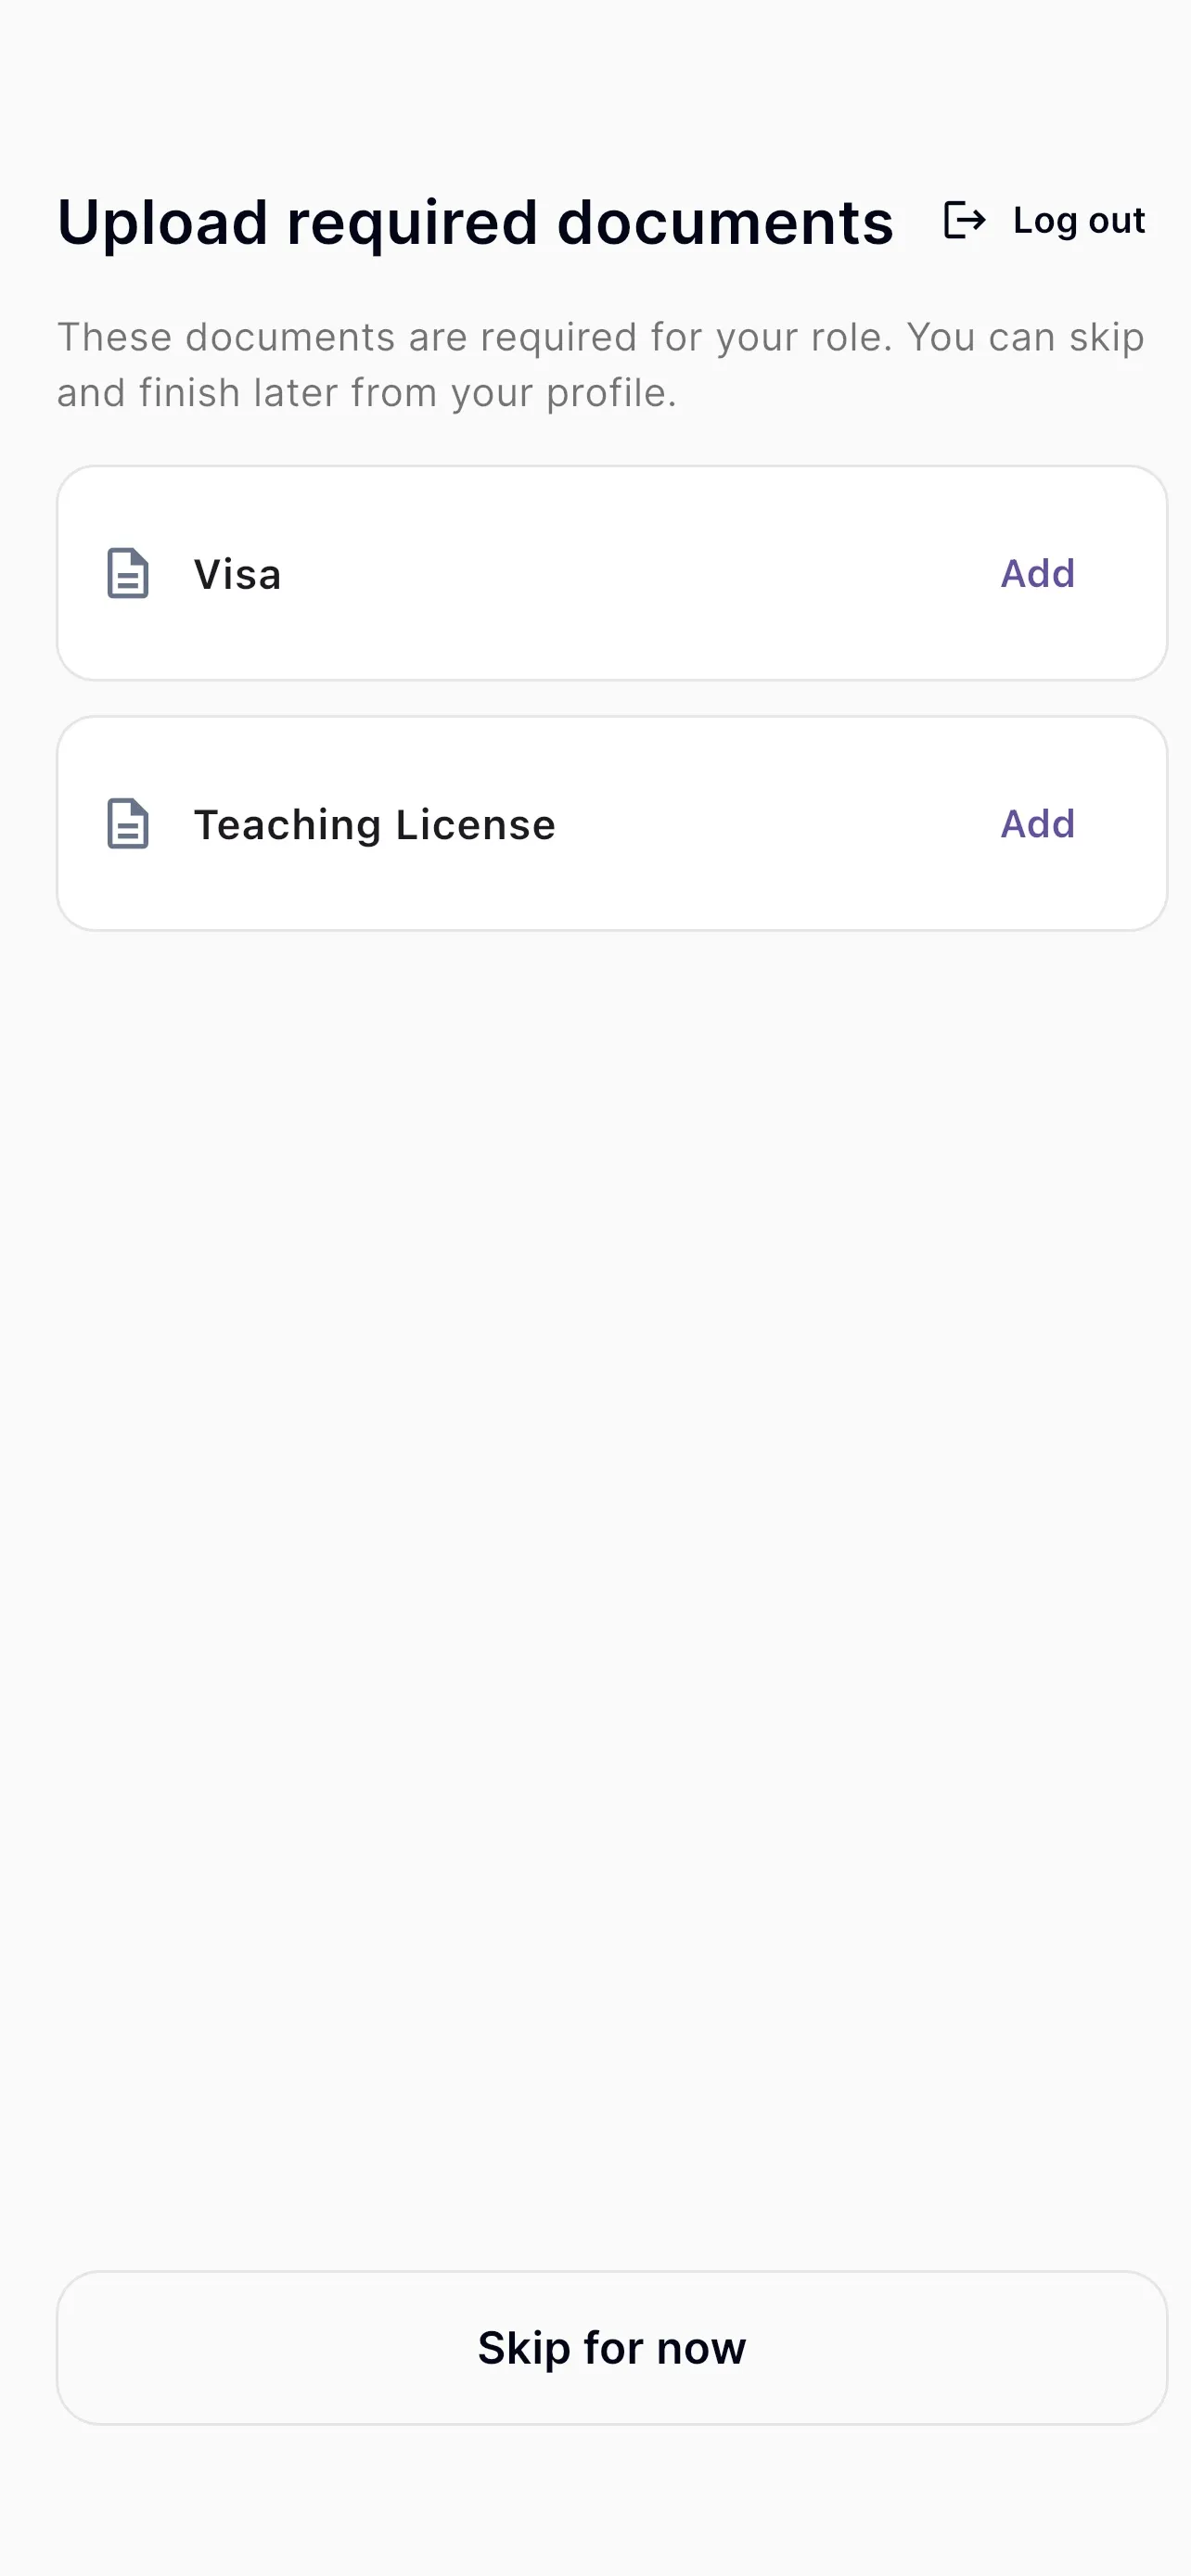

Face ID lets you verify yourself when checking in.
The camera capture step needs a real device camera and does not appear in these screenshots. Office-staff roles skip Face ID entirely.
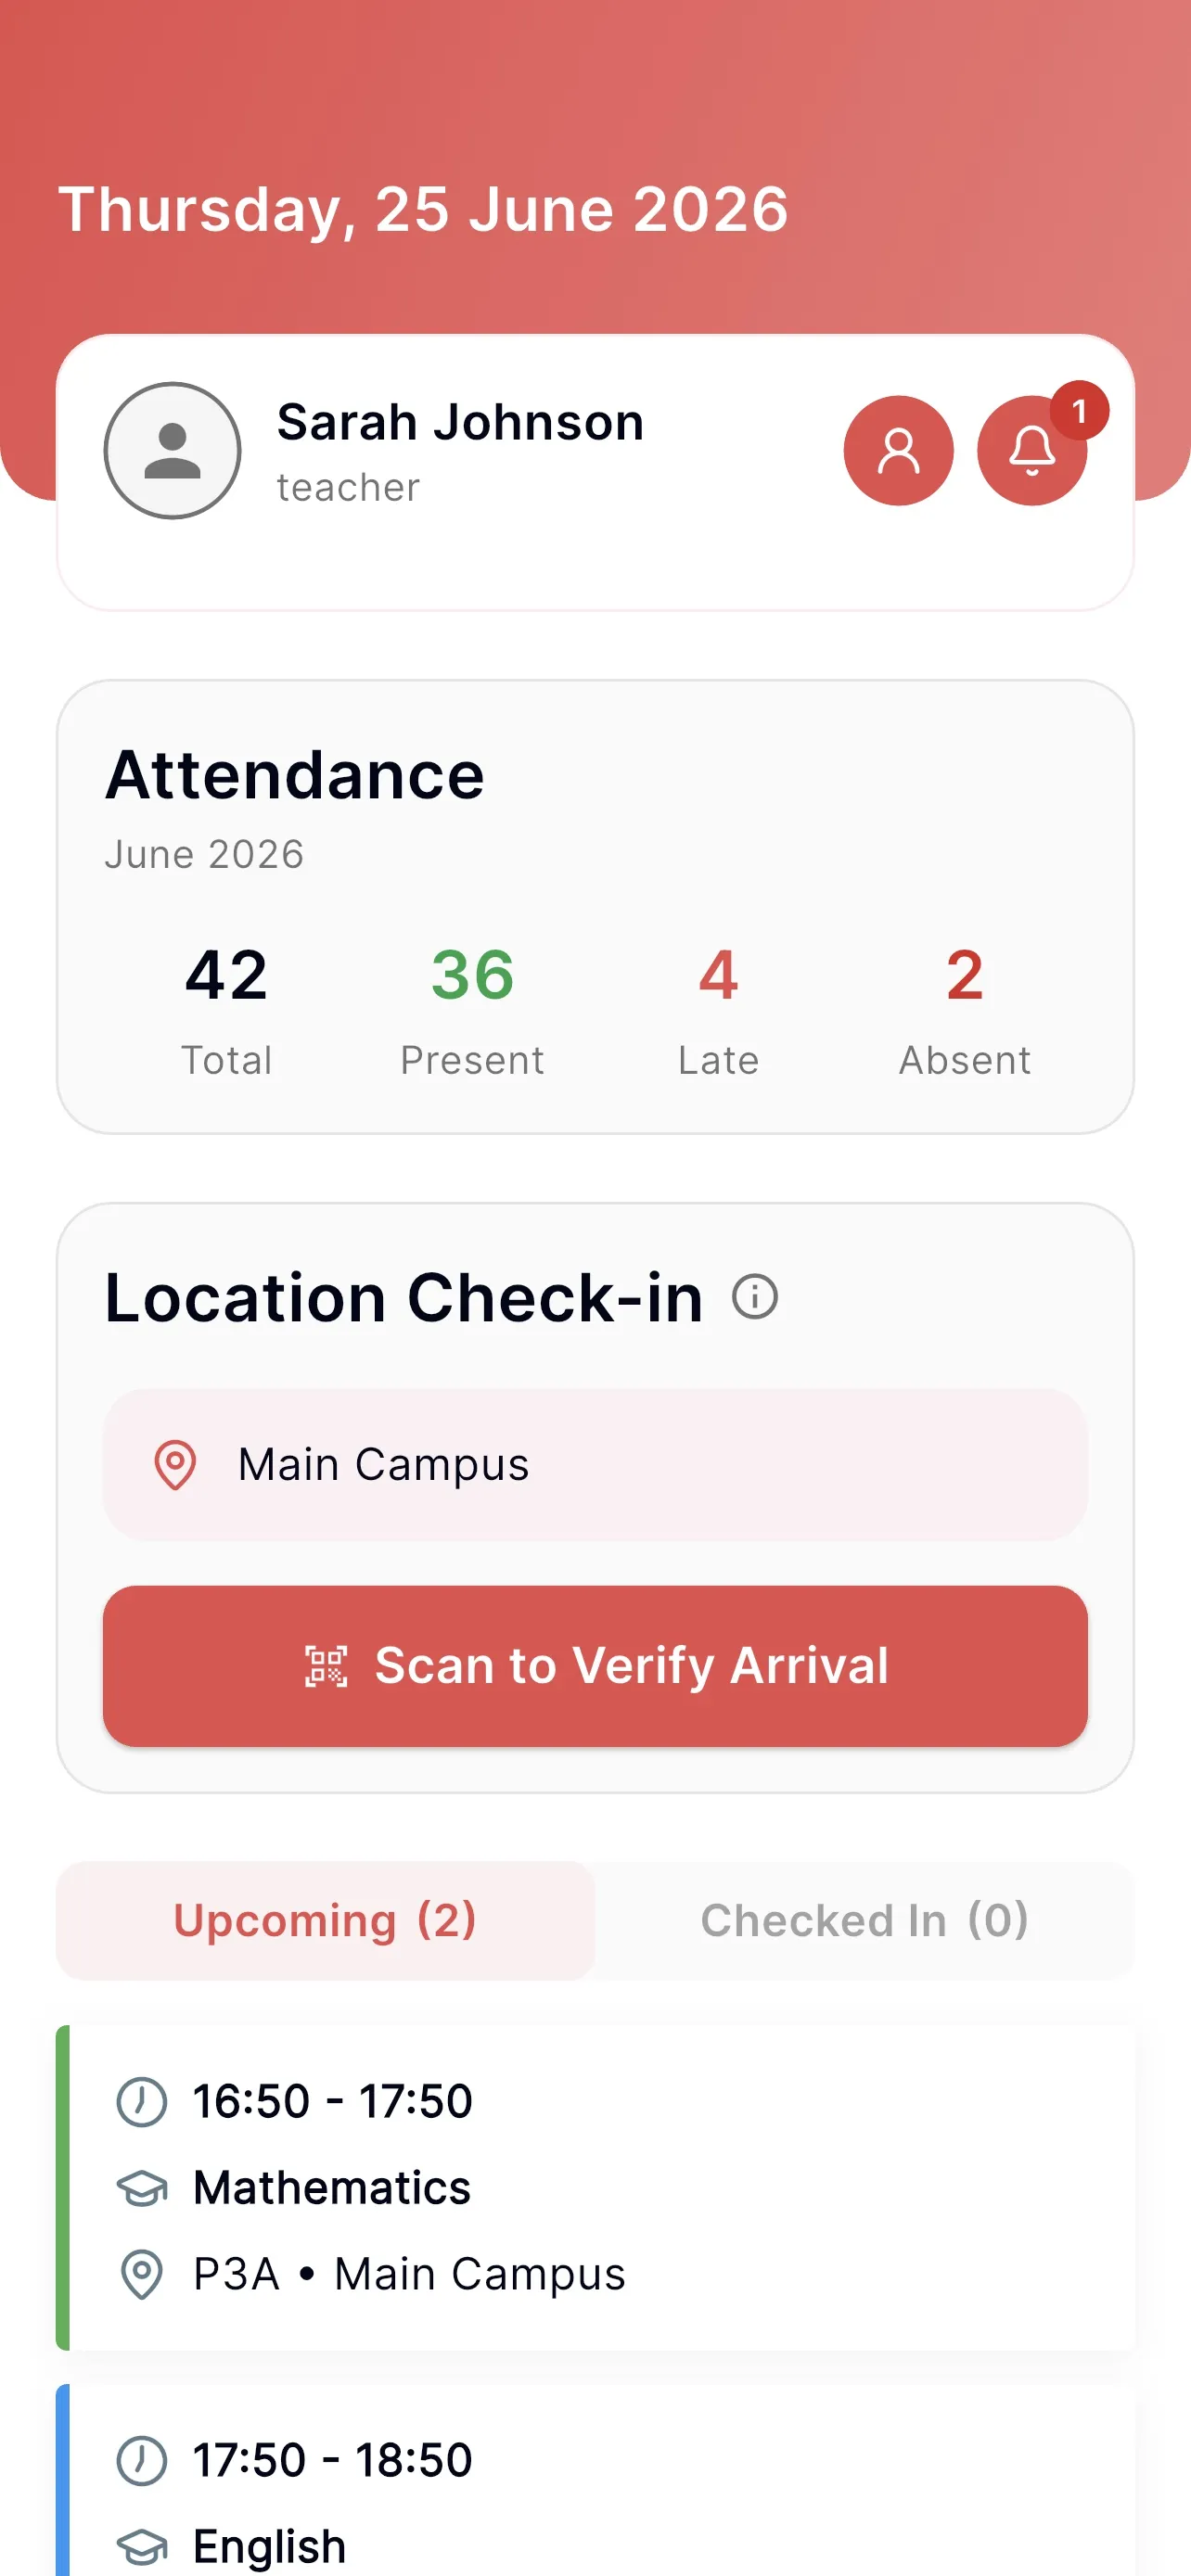
The Home tab is your daily dashboard:
To check in (field staff): follow the check-in card on Home. When a class requires it, the app opens Face ID verification to confirm it's you.
The Attendance card shows your totals for the current month (Asia/Bangkok):
| Tile | Meaning |
|---|---|
| Total | All classes this month. |
| Present | Checked in on time. |
| Late | Checked in late. |
| Absent | Class ended with no check-in. |
The card refreshes when you pull down on Home. It is hidden if there's no data for the month.
There are two check-ins: one for the location (when you arrive) and one for each class (your attendance).
1. Location check-in: done once when you arrive at a campus.
2. Class attendance: recorded for each class.
Your class status is then shown automatically:
| Status | Meaning |
|---|---|
| Upcoming | Class hasn't started; not checked in yet. |
| Arrived | You checked in at the location. |
| Present | Attendance recorded within 15 minutes of the start: on time. |
| Late | Attendance recorded more than 15 minutes after the start. |
| Absent | The class ended with no attendance recorded. |
| Moved | The class was replaced by another schedule. |
| Cancelled | The class was cancelled by an approved leave. |
Tips: enable location/GPS and grant the app permission, and finish Face ID setup before your first class. If check-in is refused, you're usually outside the allowed area, outside the time window, or haven't done the location check-in yet.
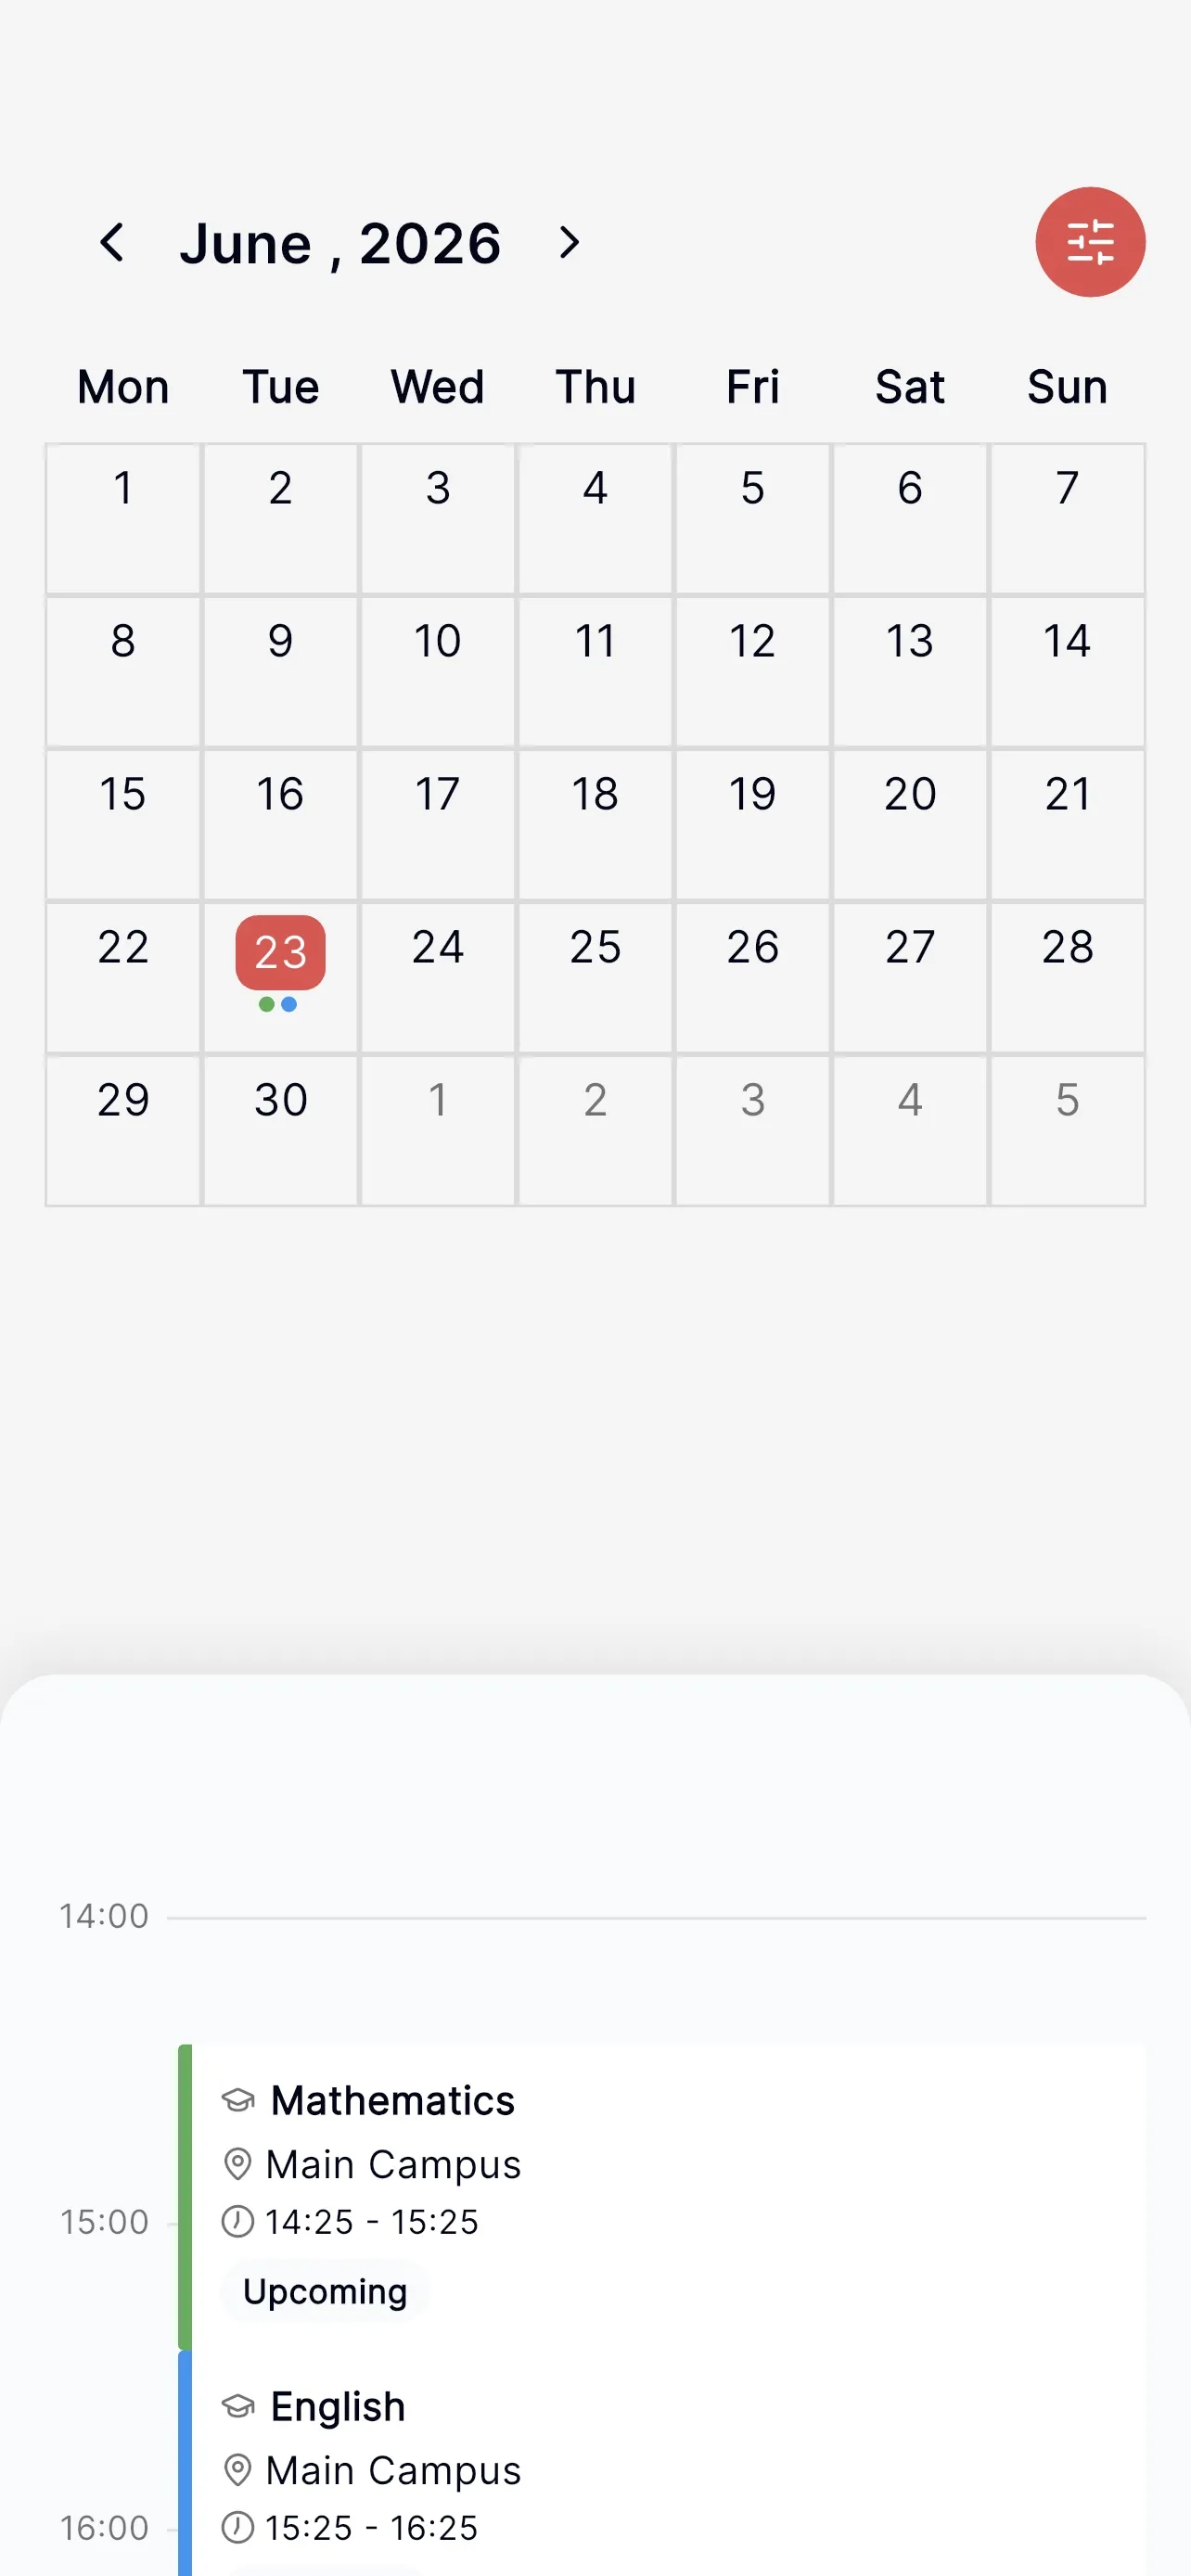
The Schedule tab shows your classes on a monthly calendar.
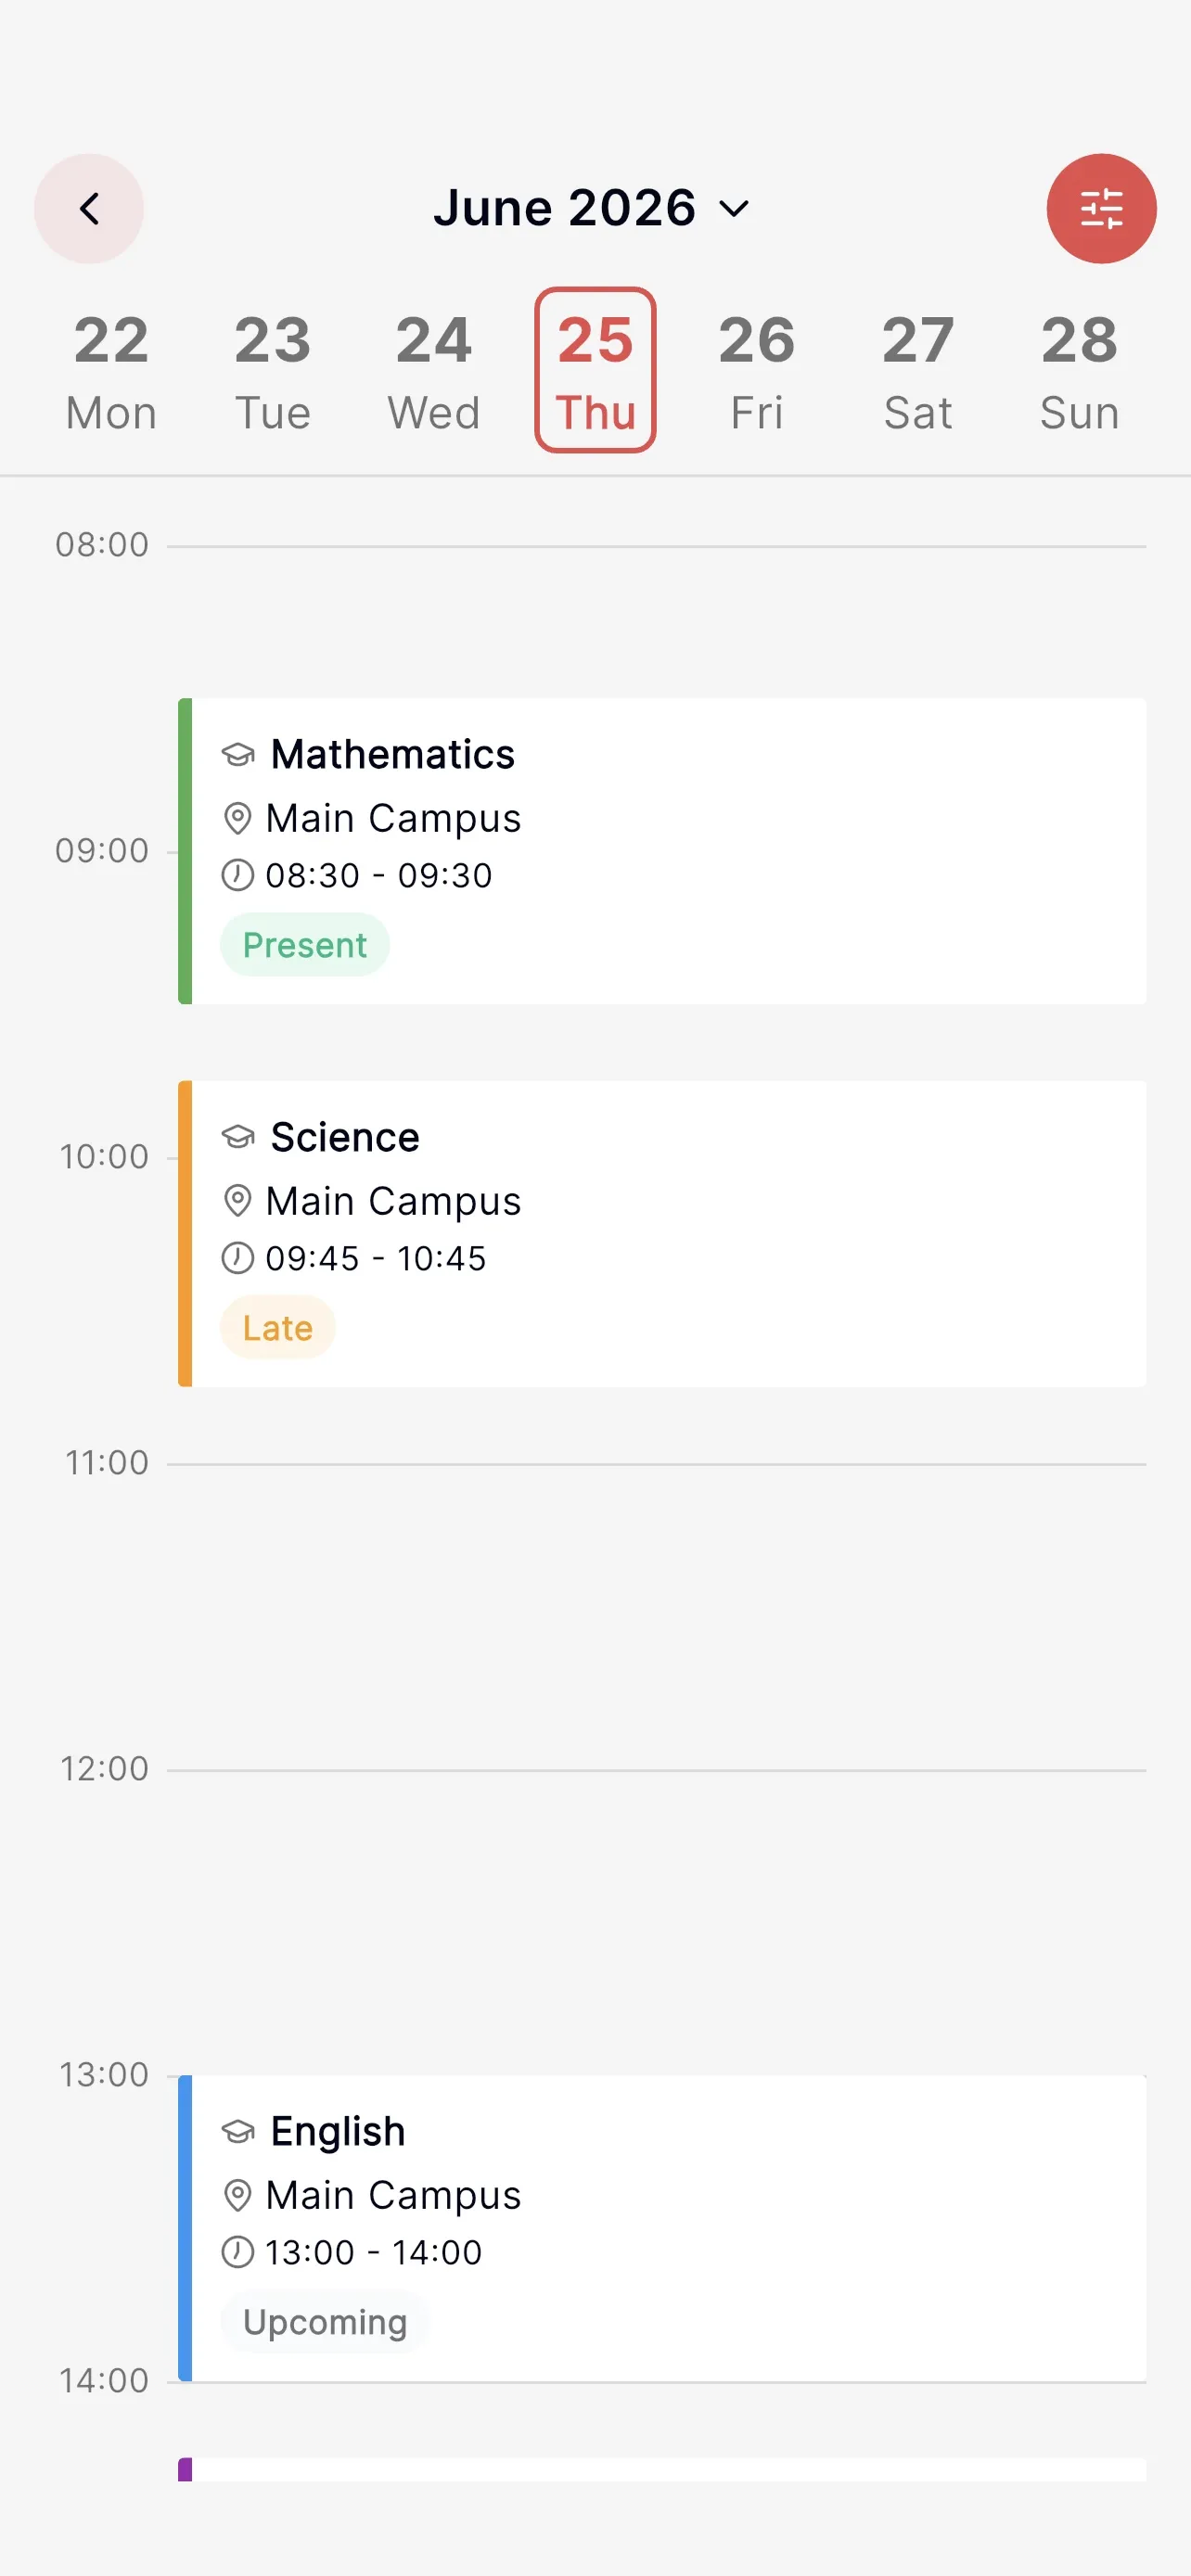
The day view lists each class on a timeline with its time, subject, location, and status (Upcoming, Arrived, Present, Late, etc.). Tap a class for details.
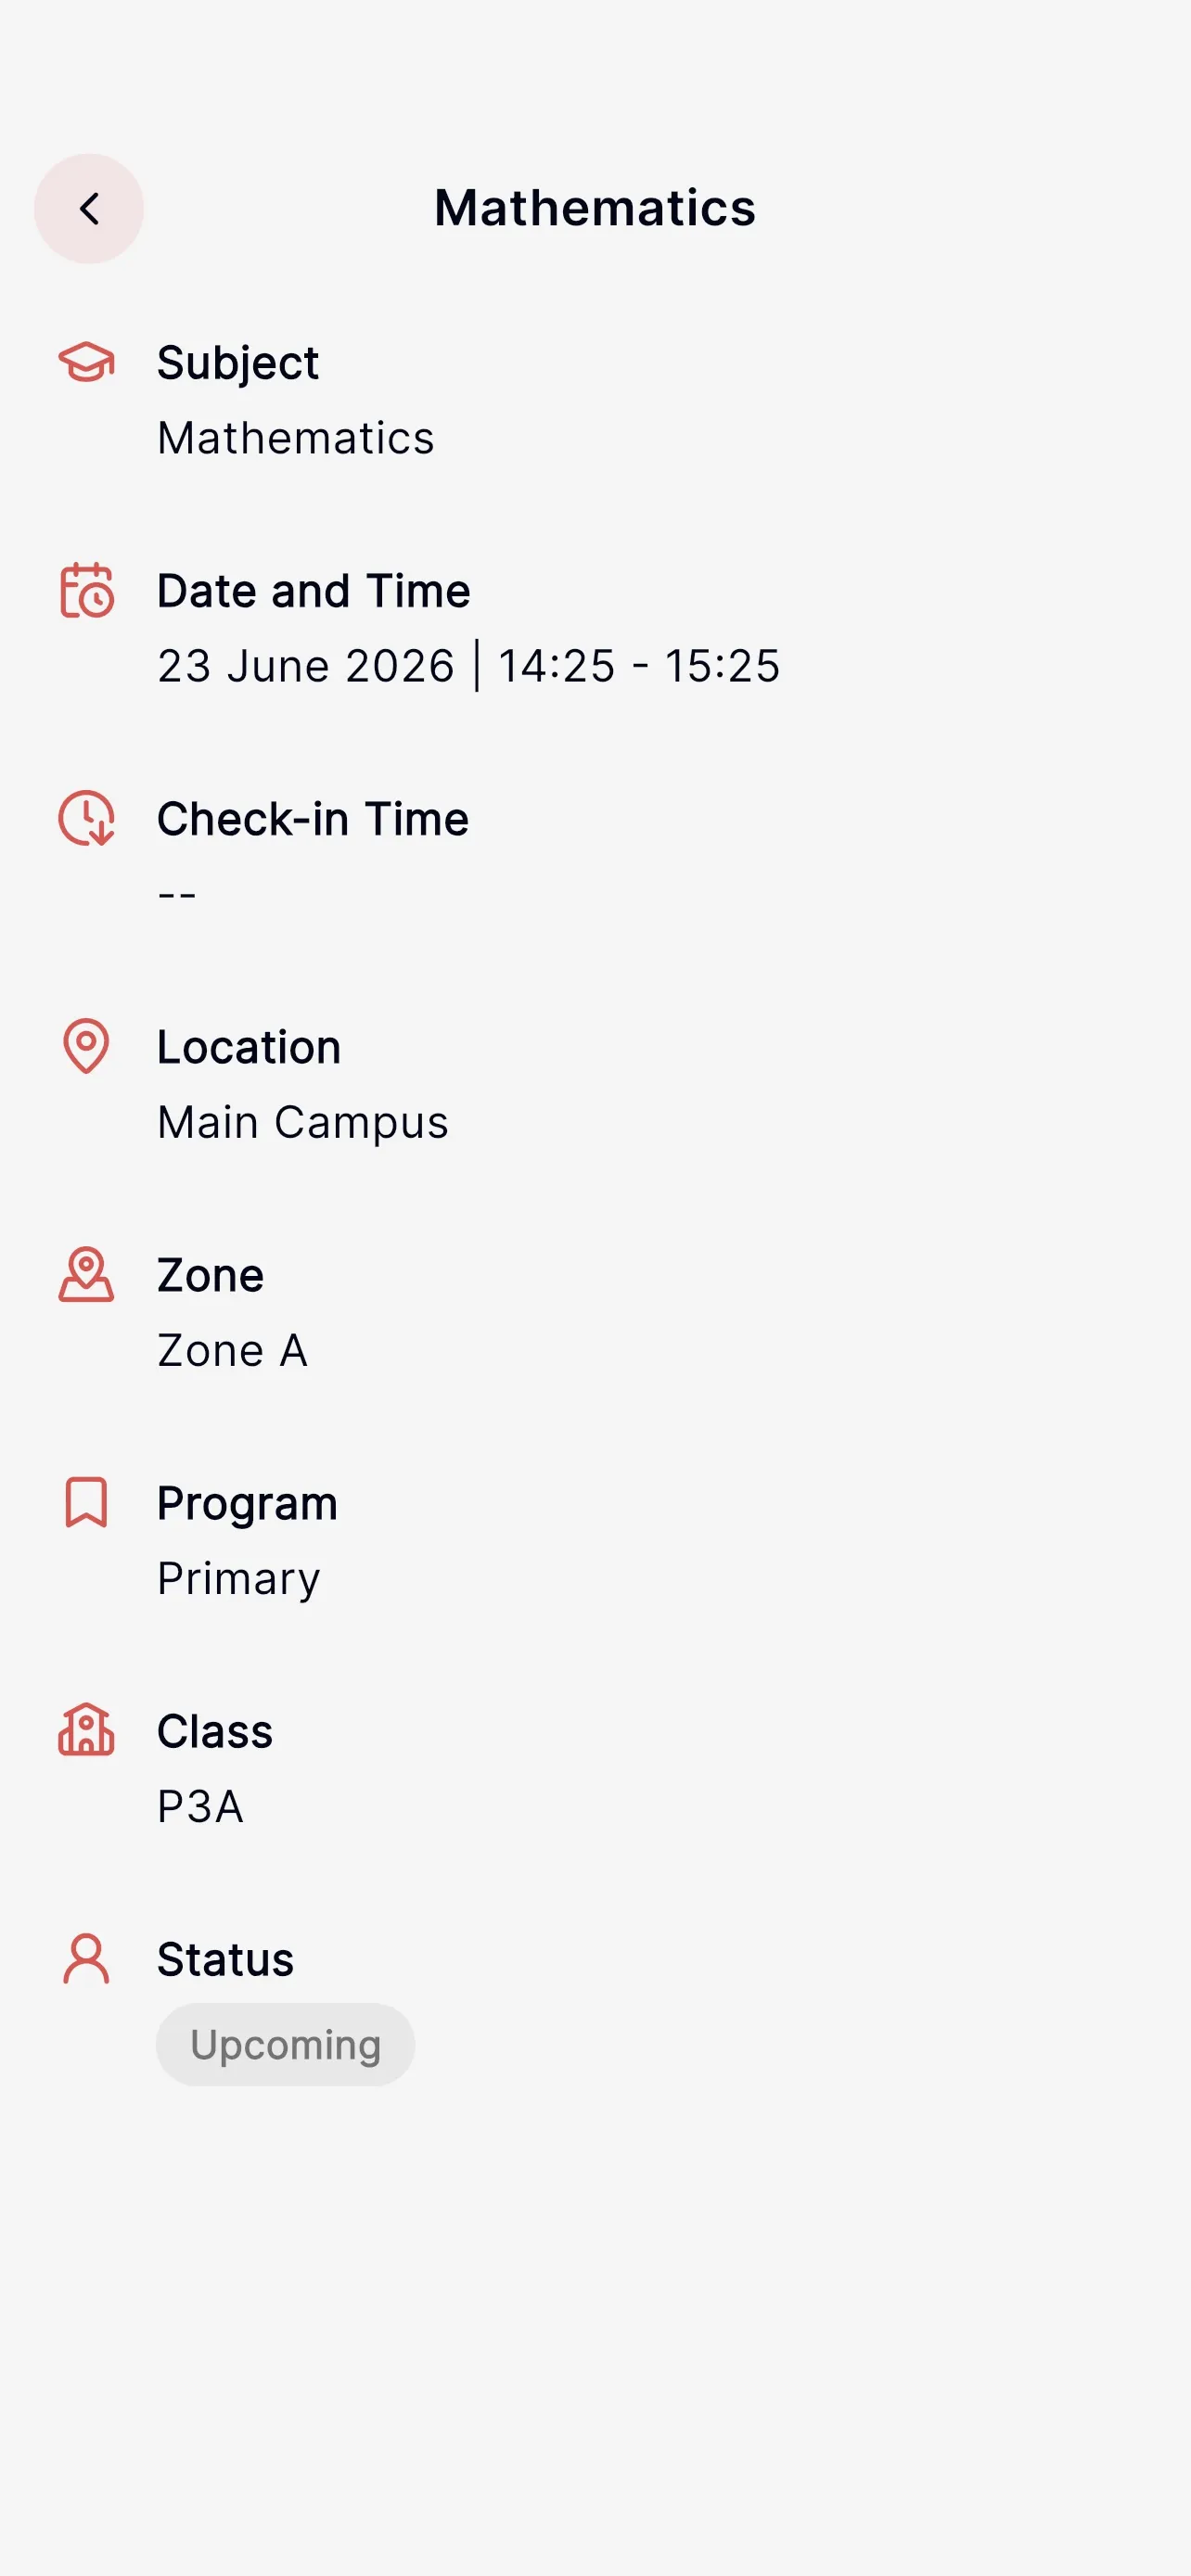
Shows the full details of a single class: subject, level and section, time, and location.
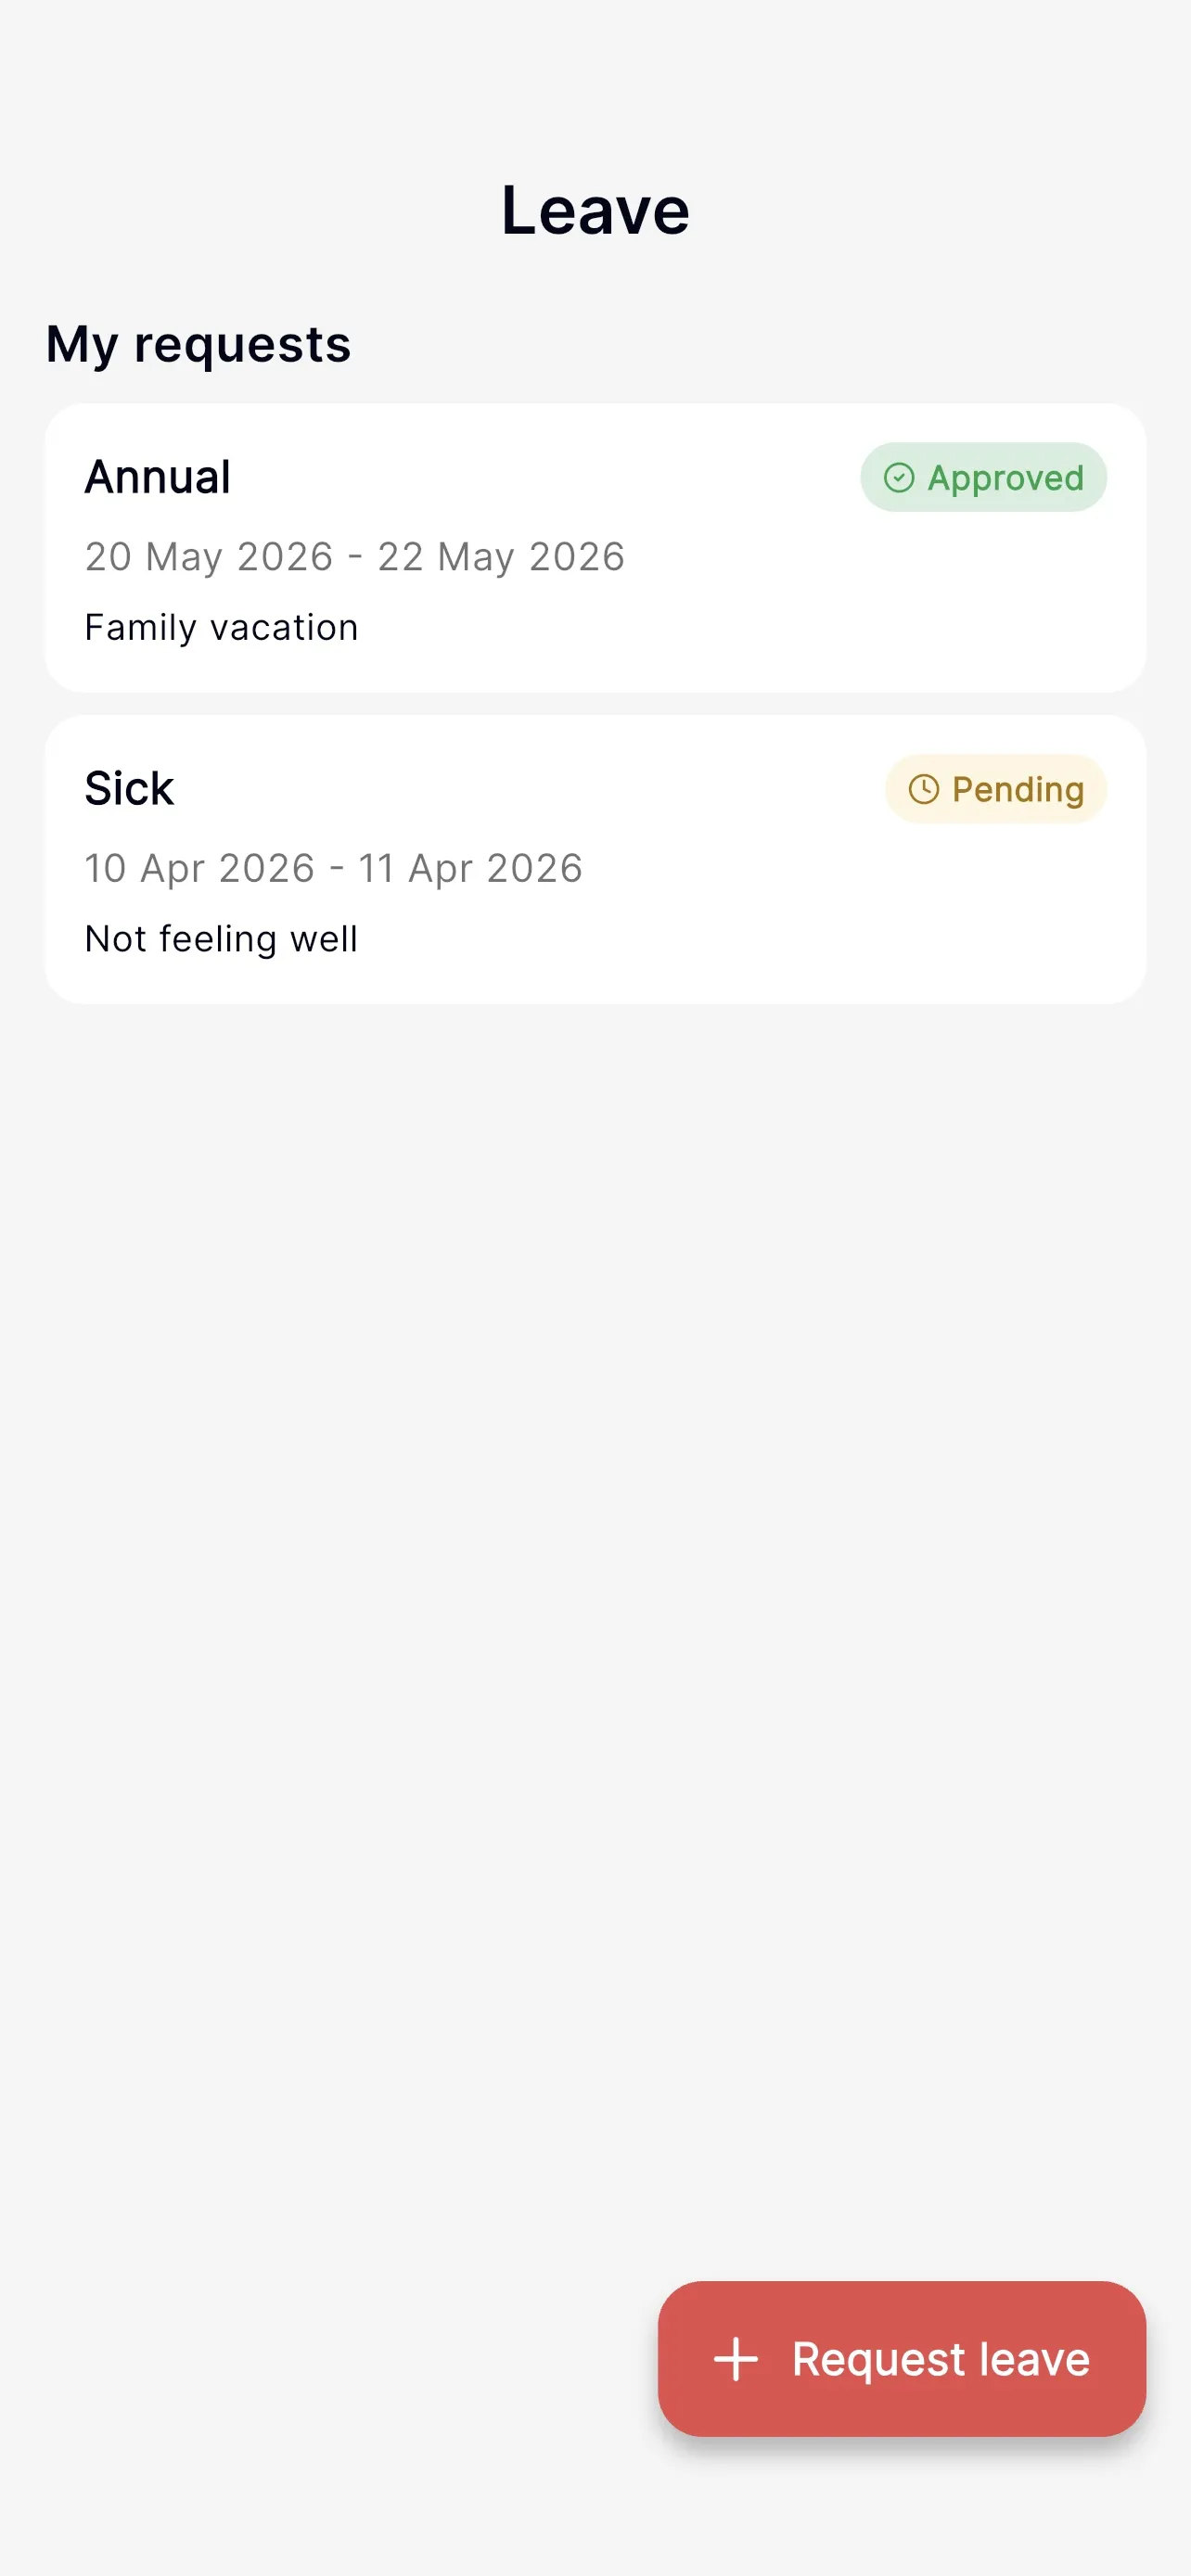
The Leave tab lists your requests with their status:
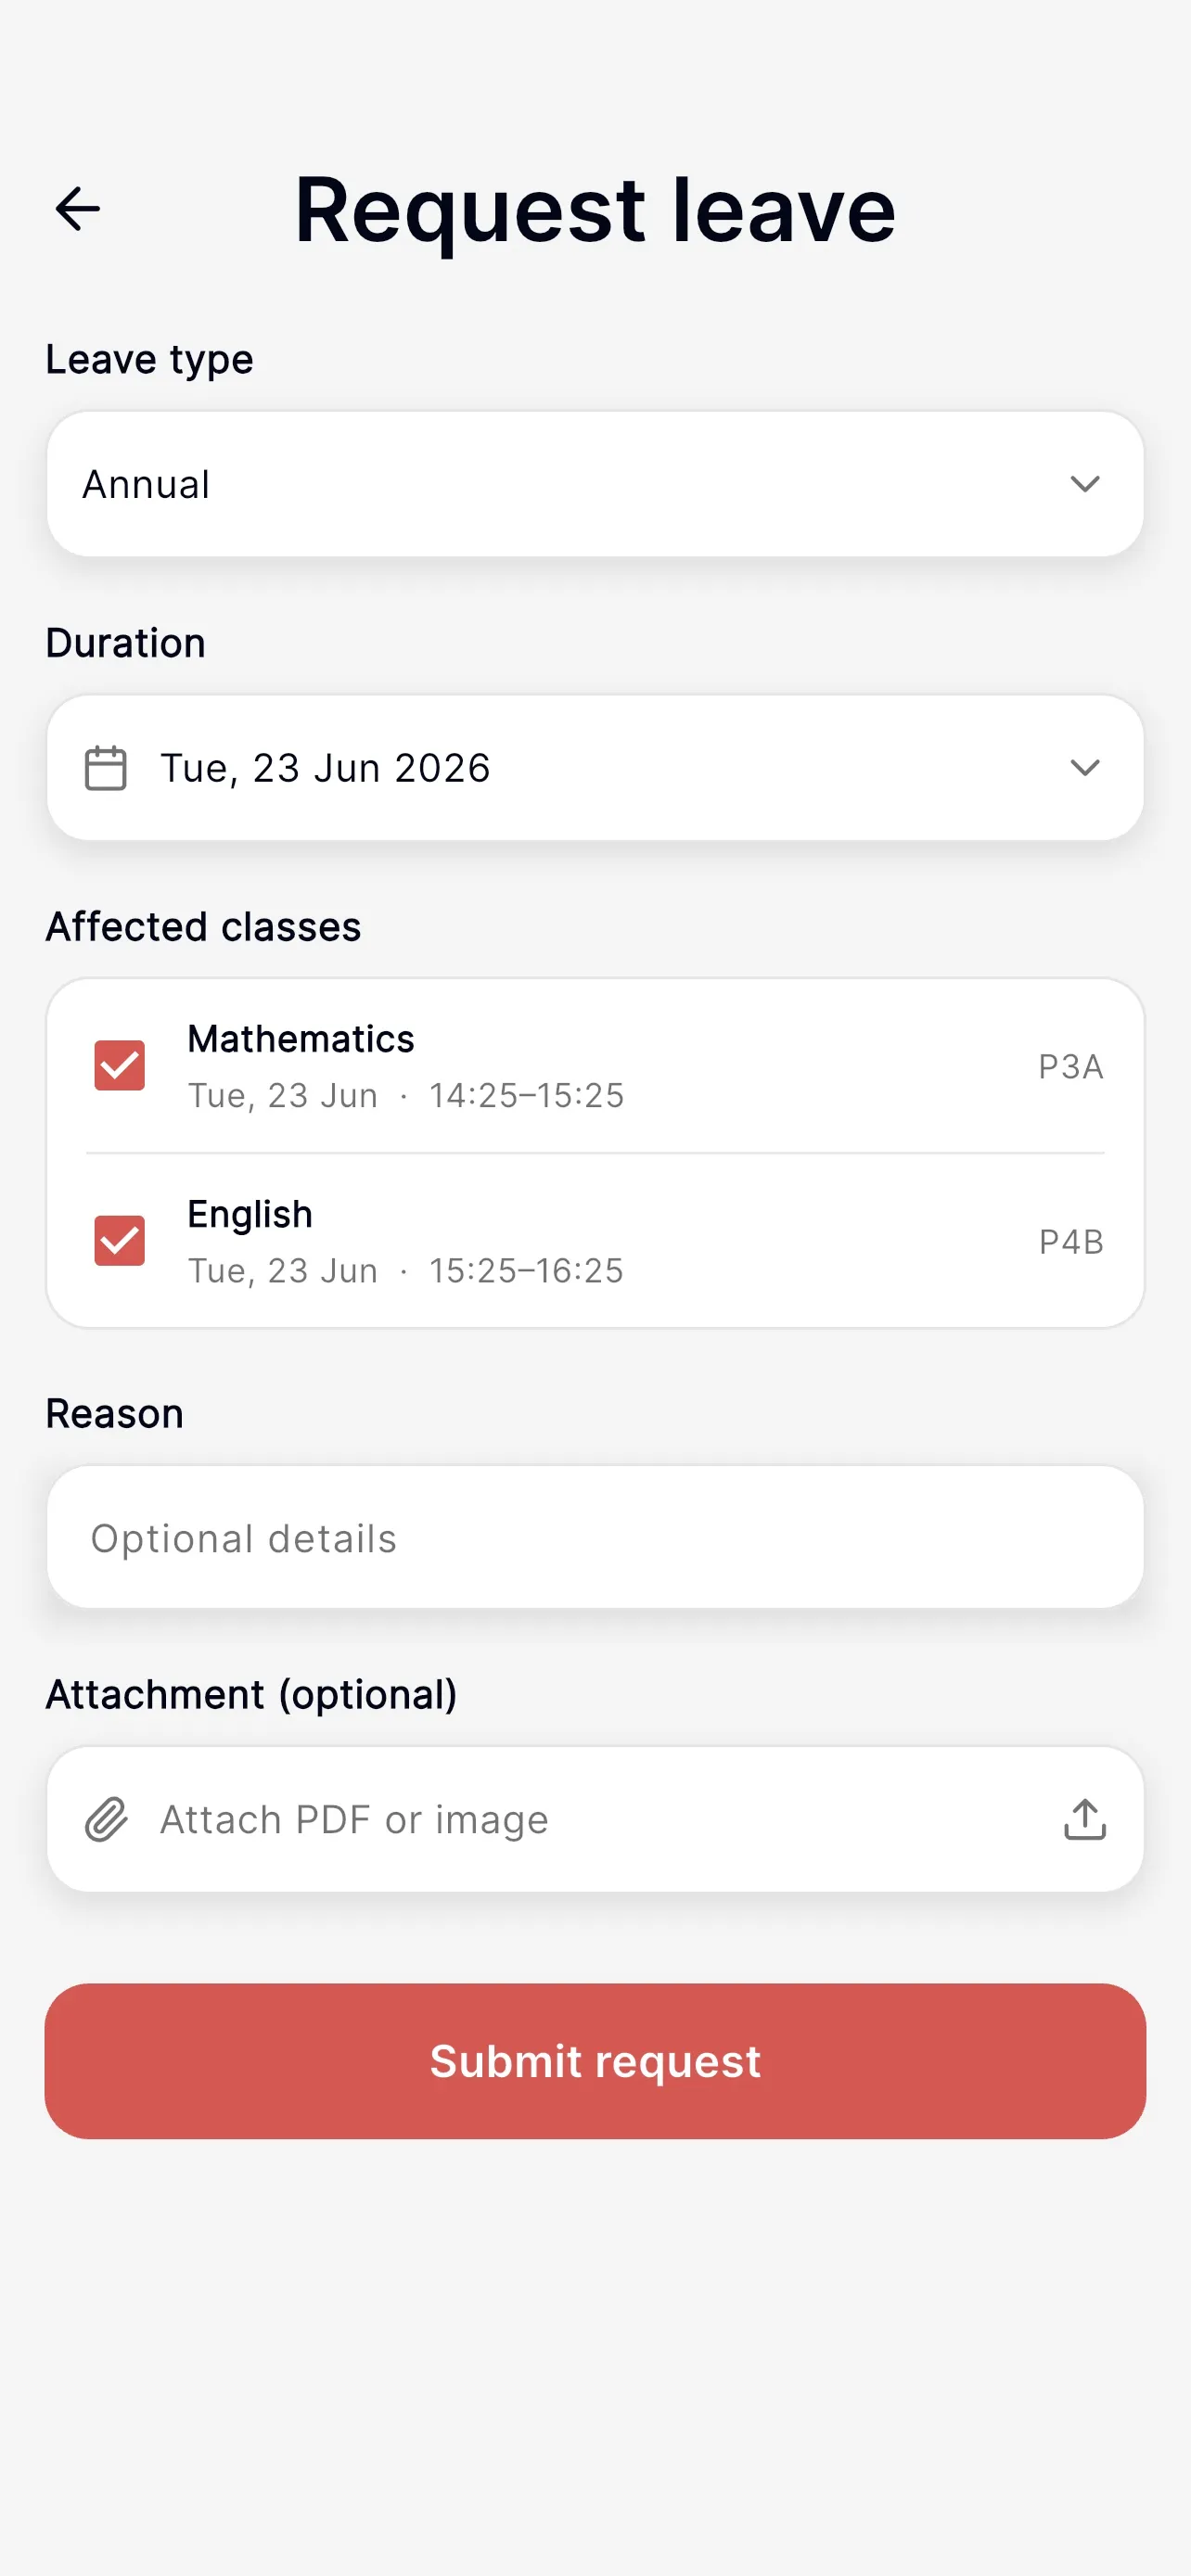
Tap Request leave (the button at the bottom) to create a new request.
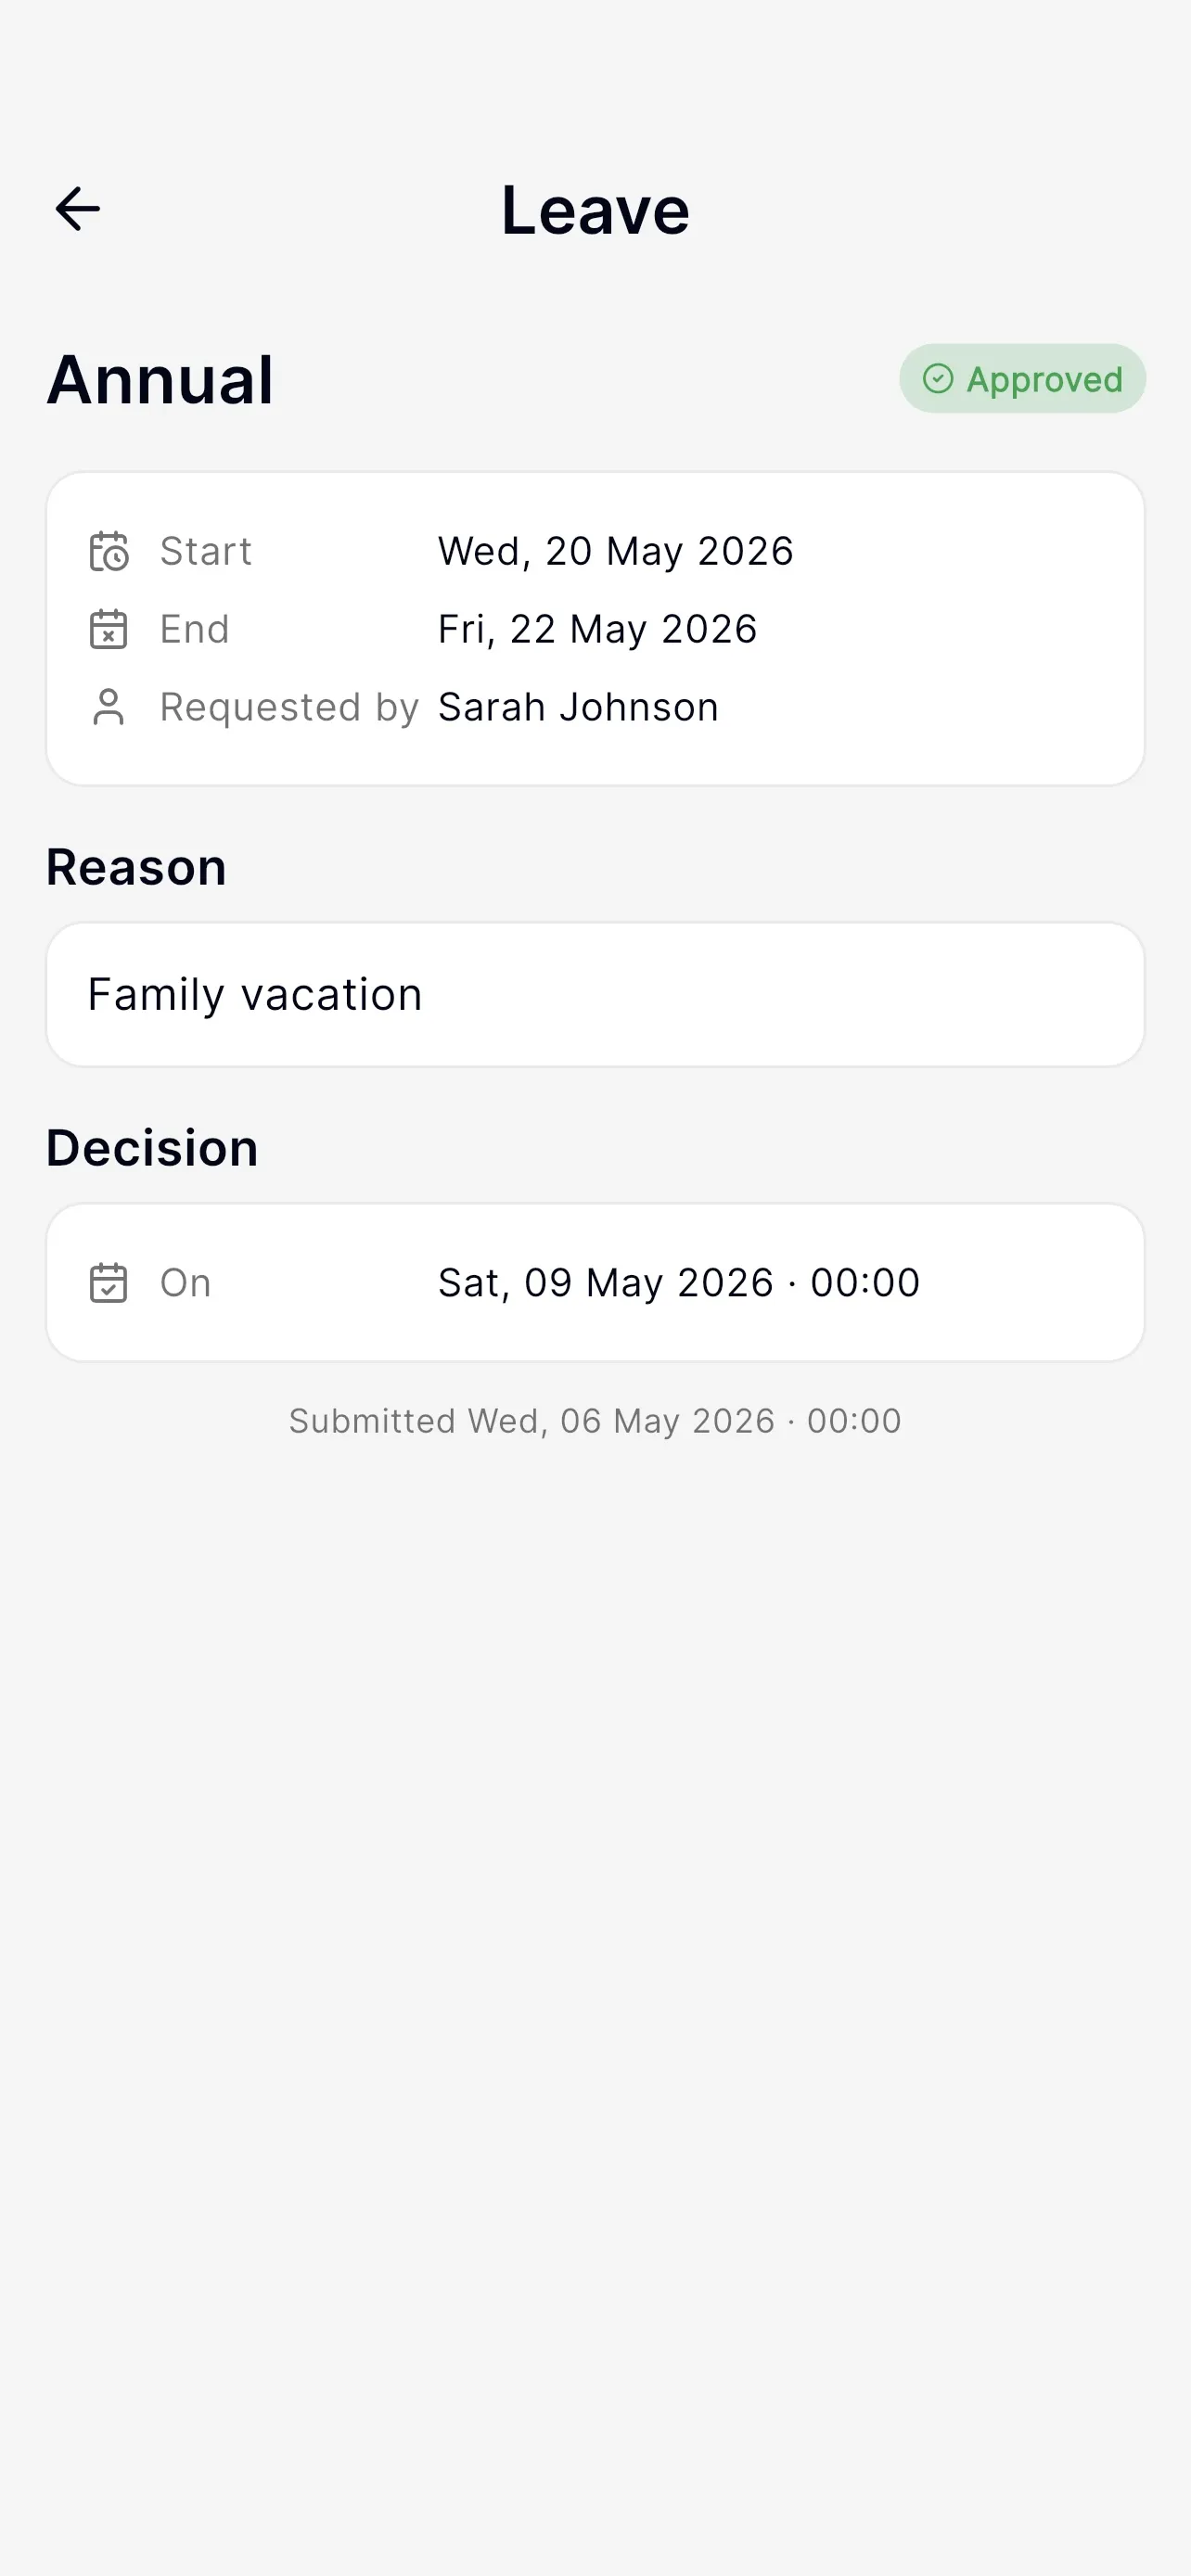
Opening a request shows its dates, reason, status, the decision (who decided and when), and the affected classes. If a request is still Pending and it's yours, a Cancel request button appears at the bottom.
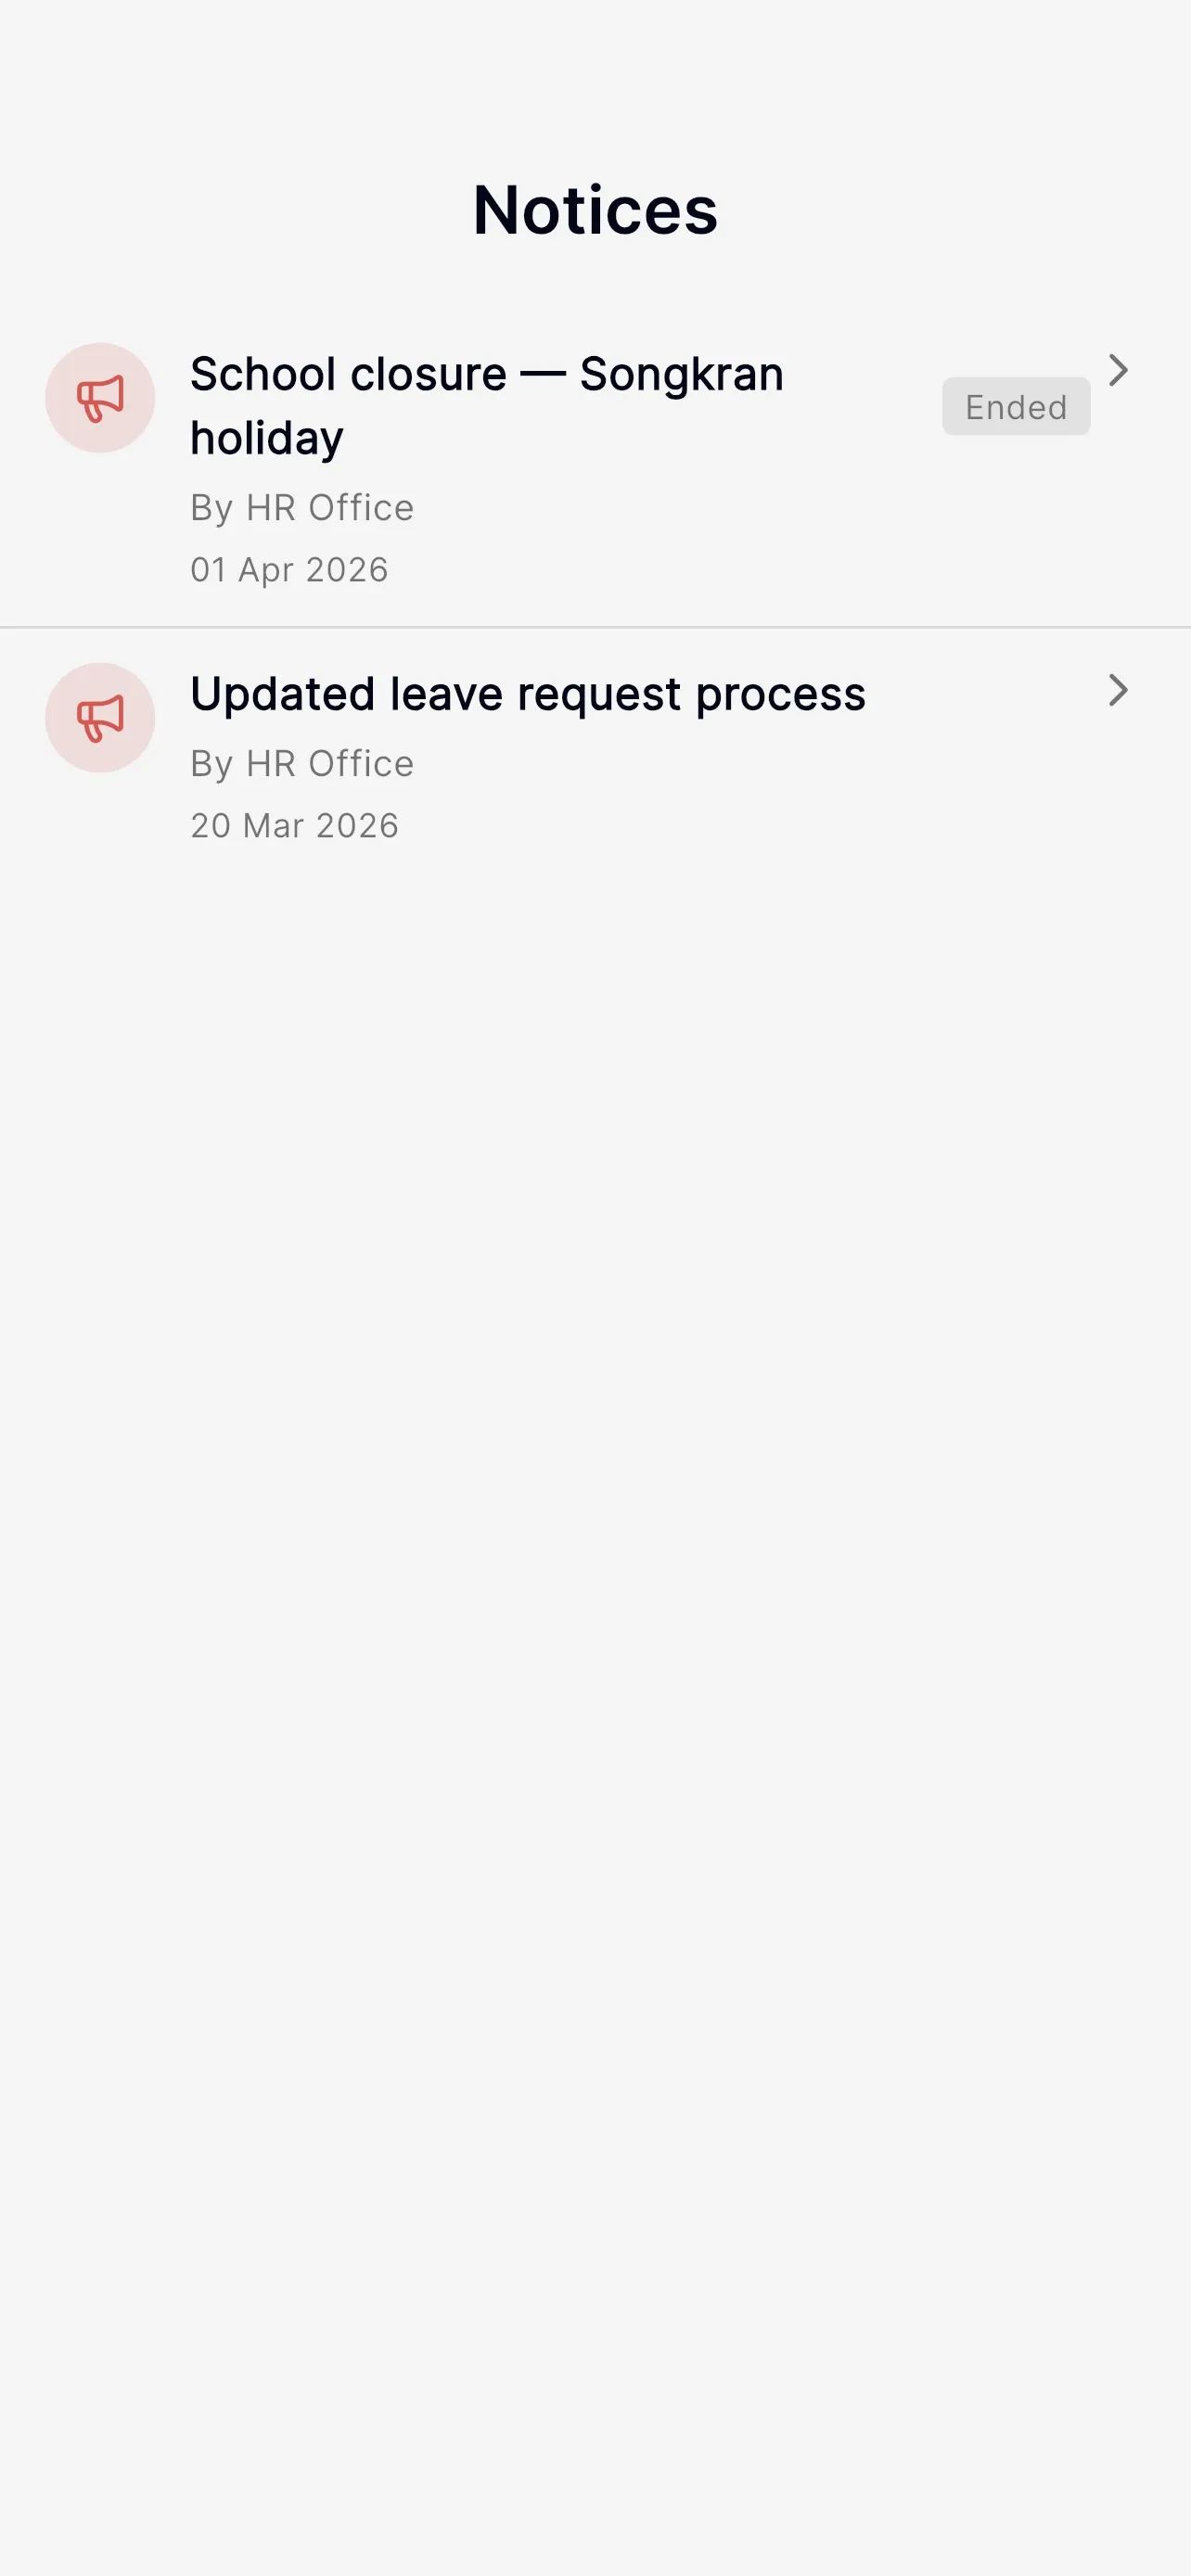
The Notices tab shows school announcements (closures, policy changes, events). Tap a notice to read the full text. Pull down to refresh.
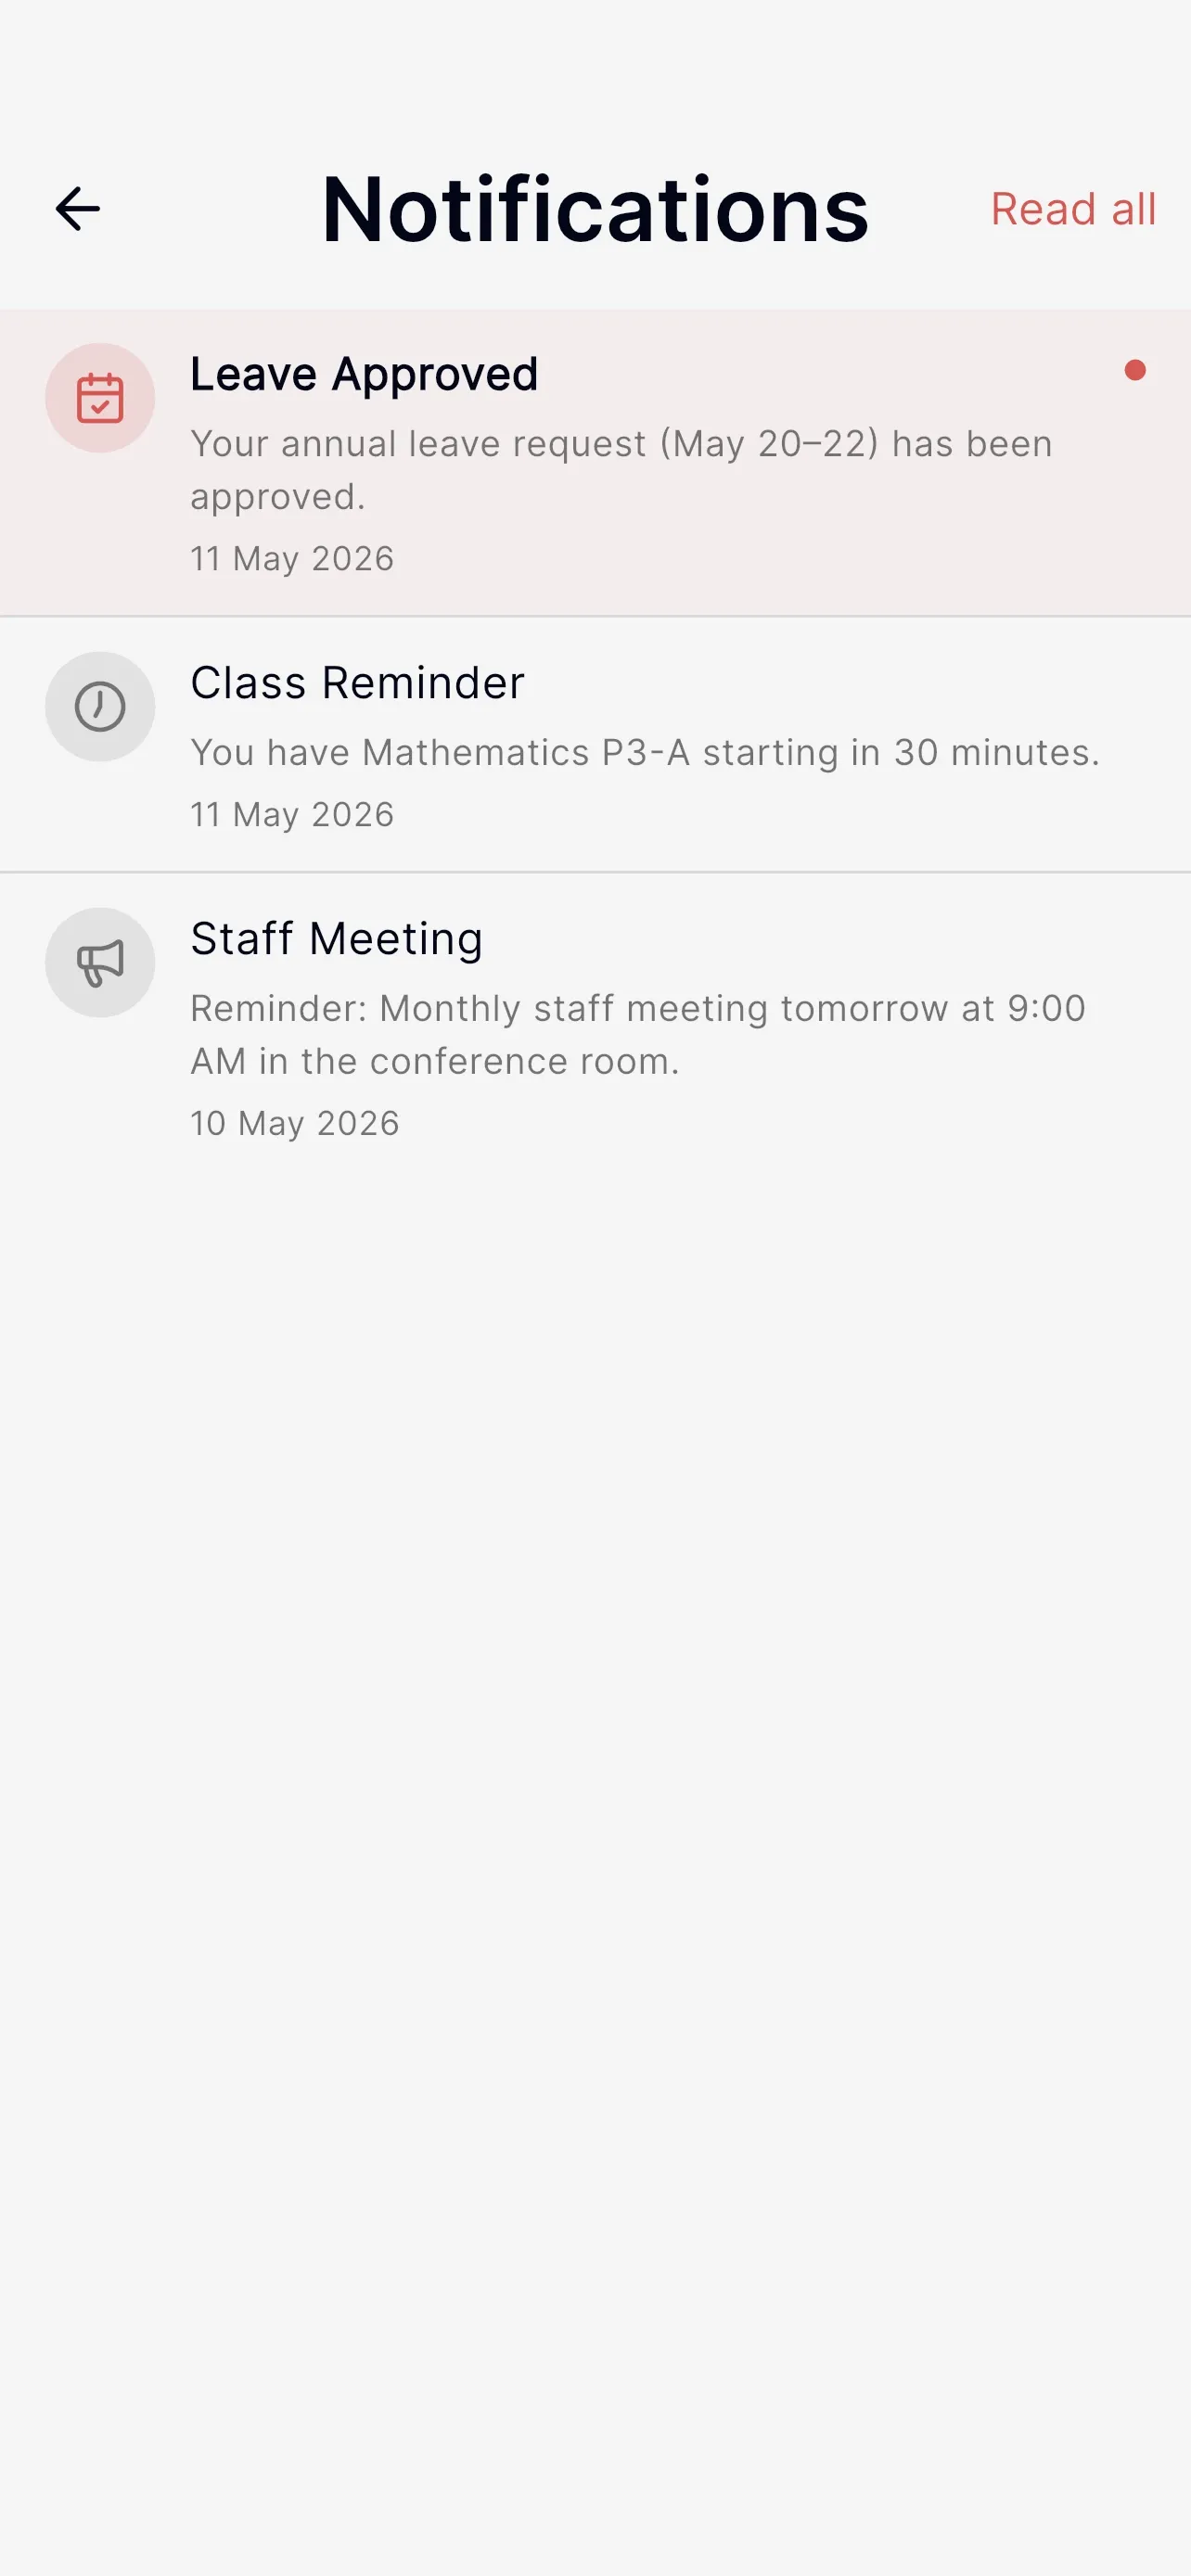
Open notifications from the bell on the Home screen.
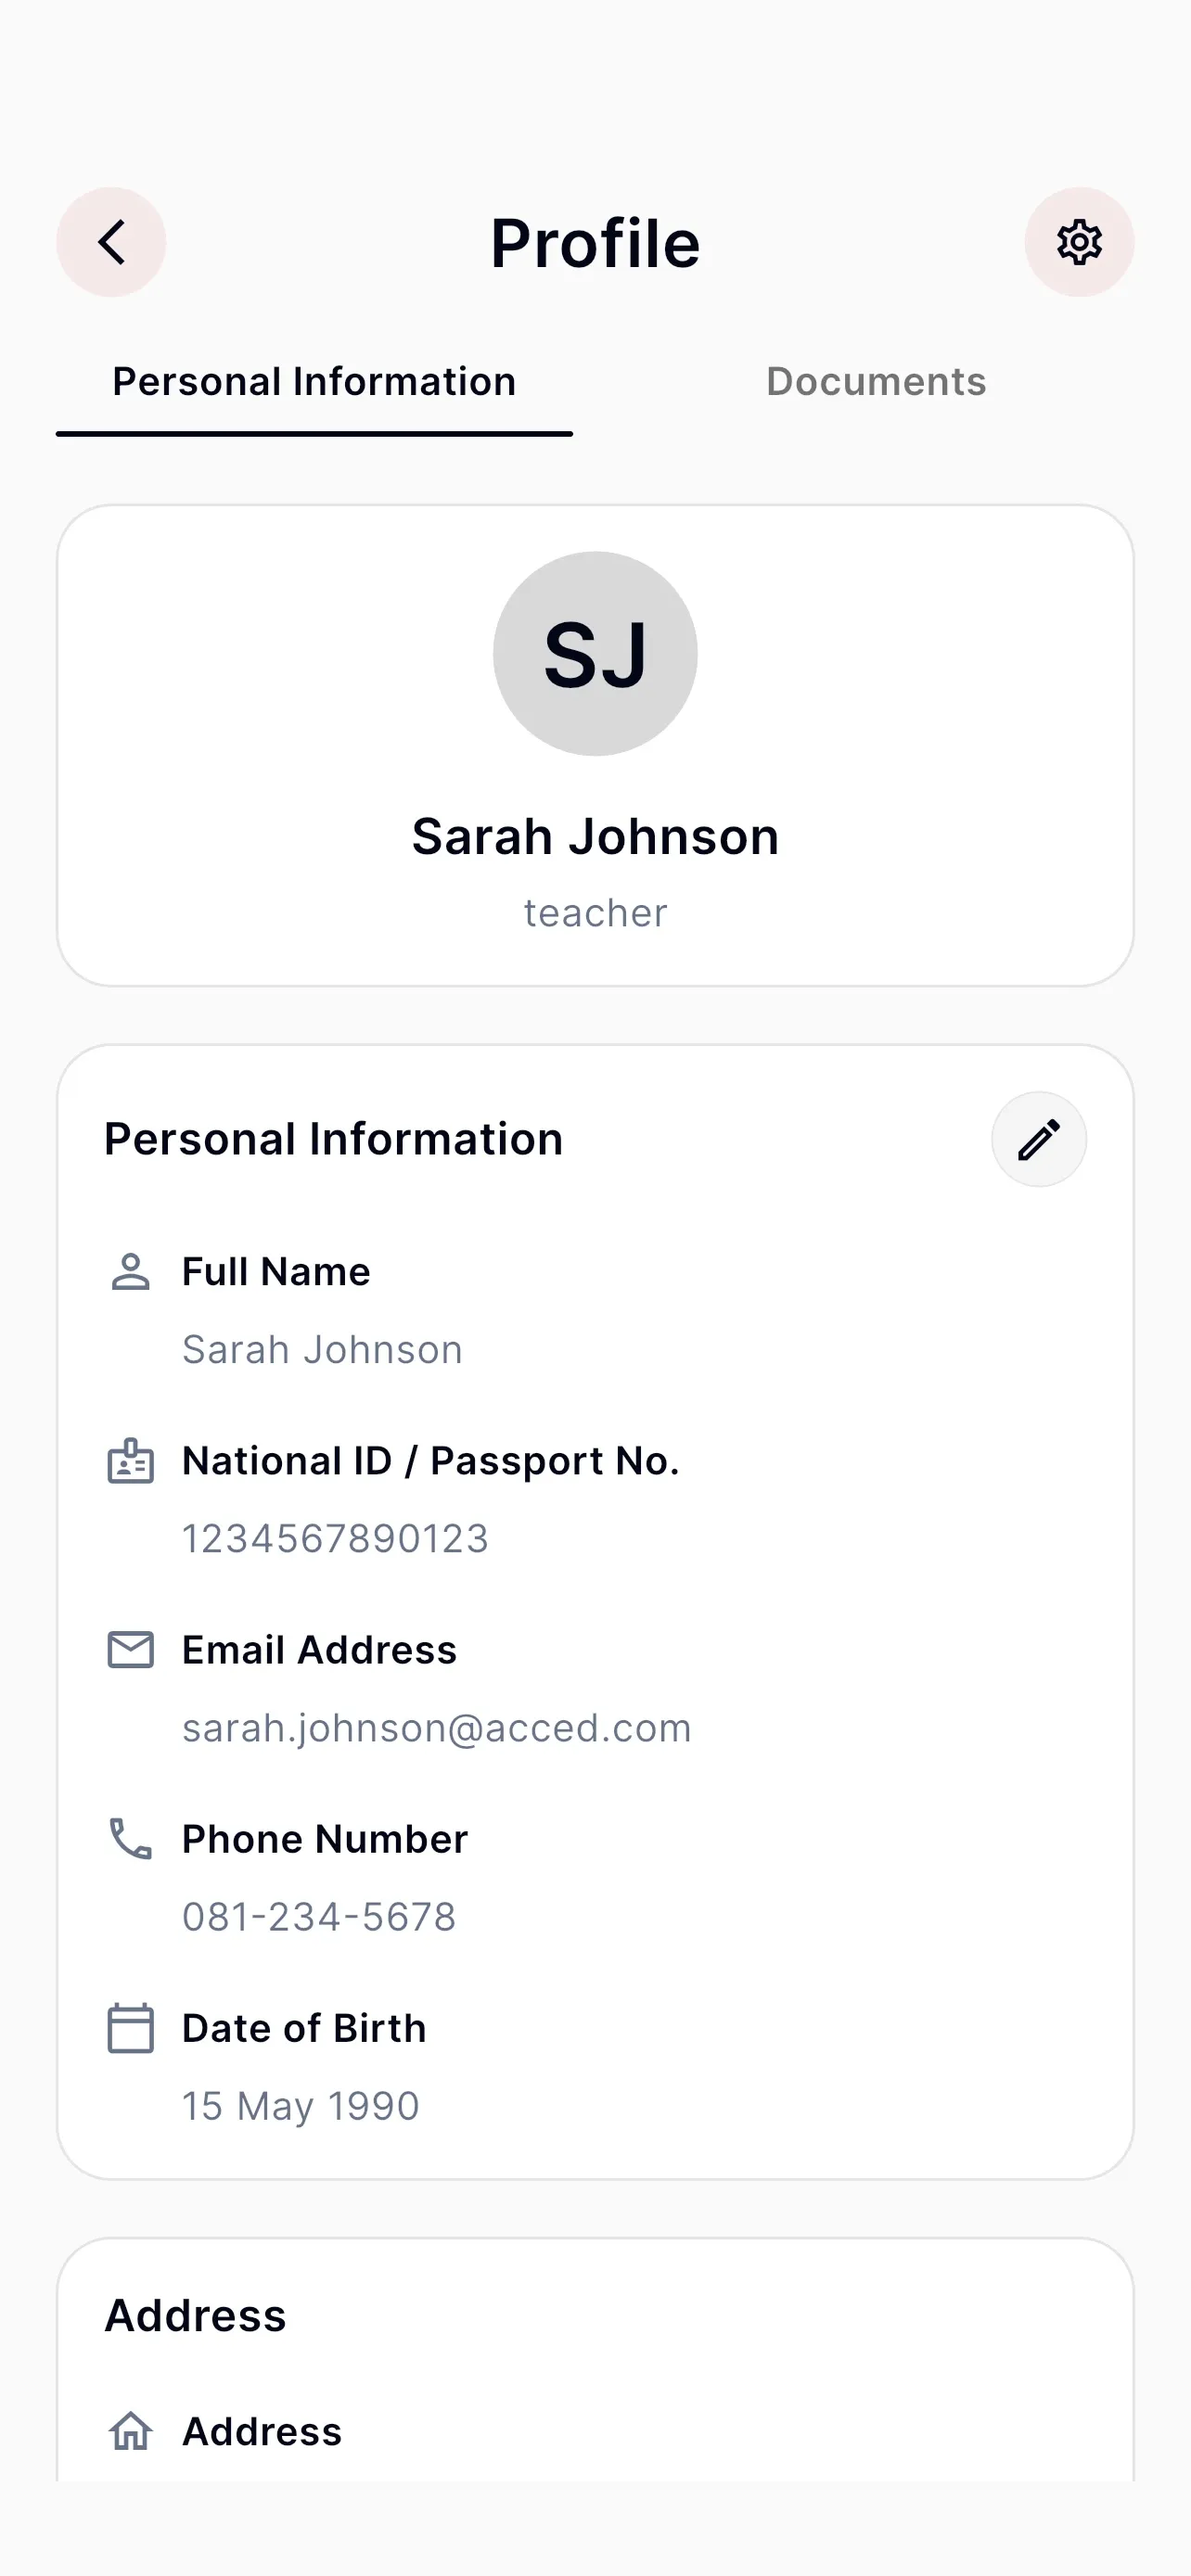
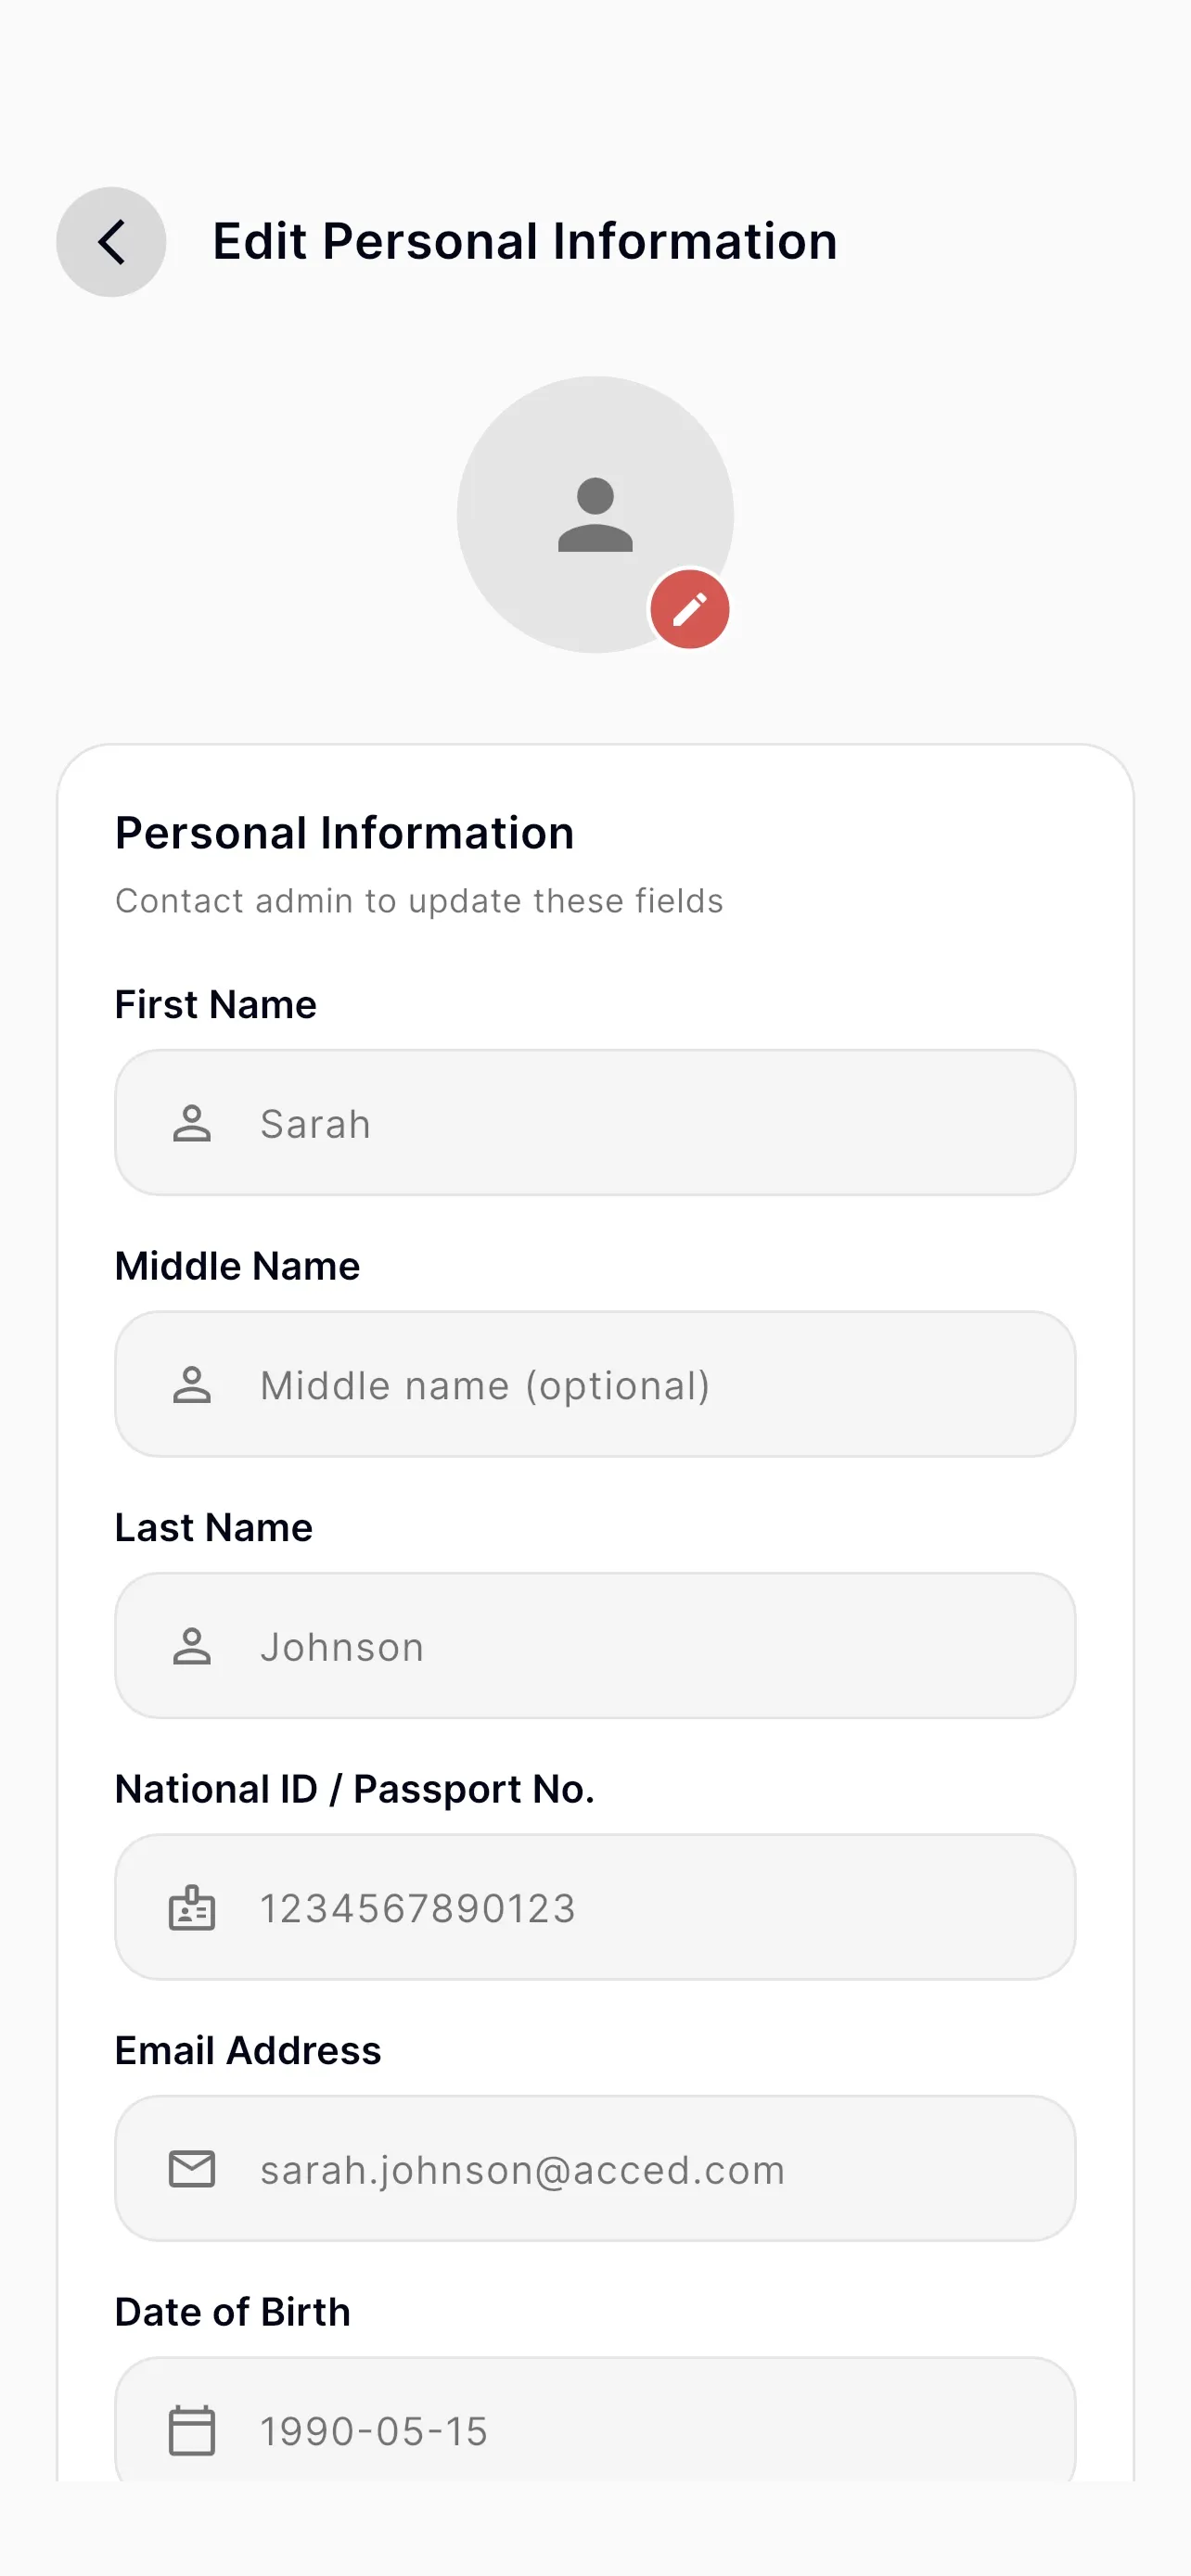
Open Profile from the avatar on Home. It shows your personal details, your documents, and how complete your document set is. From here you can edit your profile, manage documents, and open Settings.
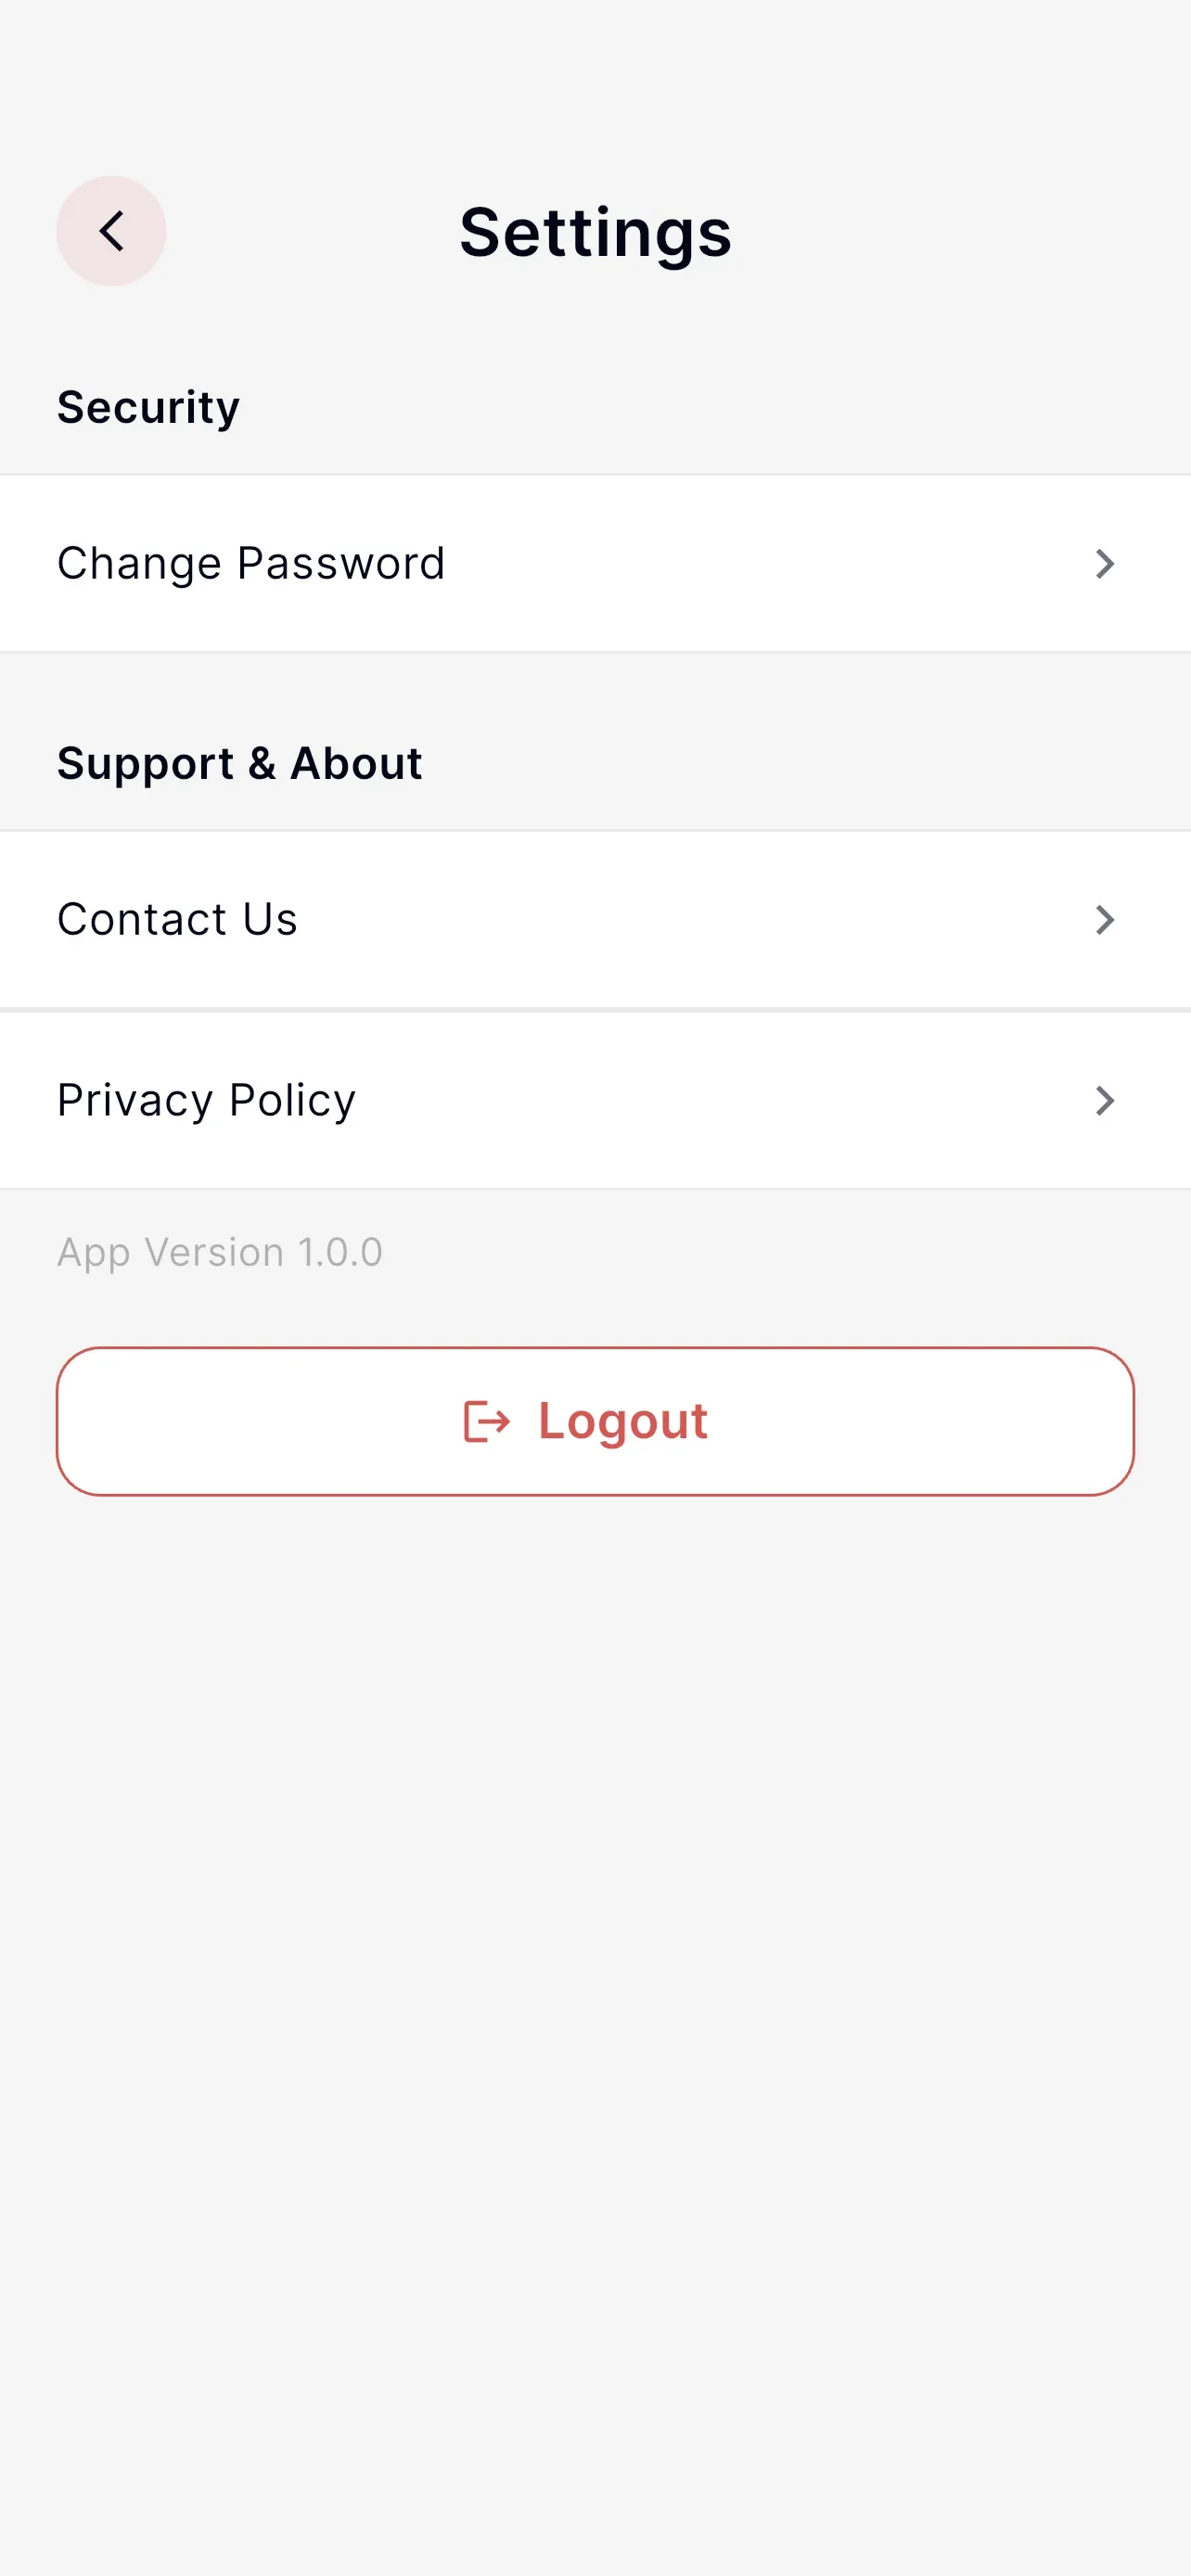
Settings holds account actions:
If a screen ever fails to load with a "User not signed in" error, use the Log out button on that screen to clear your session and log in again.